This post may contain affiliate links. Please read my disclosure policy.

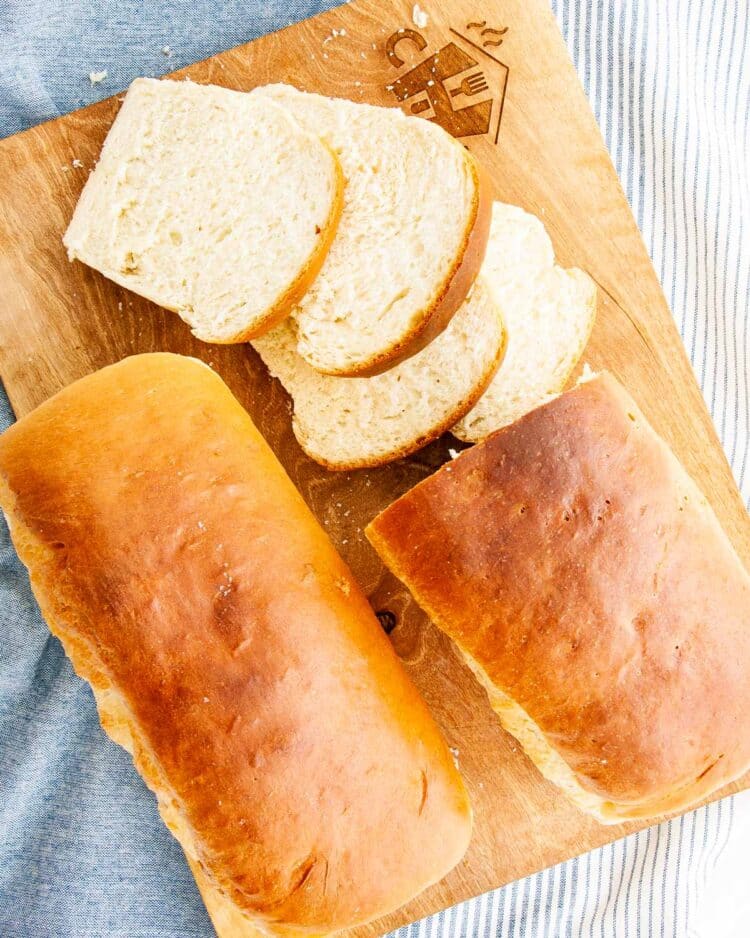
Amish White Bread is an easy, soft, slightly sweet loaf that slices easily without crumbling, making it ideal for sandwiches! Its velvet-like texture and semi sweet flavor make it a hit amongst kids and adults alike.
If you are tired of having to go to the store to pick up white bread for your kids because they refuse to eat anything else, this Amish white bread recipe is for you. It is somewhat sweet, reminiscent of my Hawaiian sweet rolls and is the ideal bread for sandwiches!
This Amish white bread is incredibly simple and made up of pantry staple ingredients, making it one of the most convenient loaves on my blog! This recipe will help you produce fluffy, soft, velvety white bread – every time.
What is Amish white bread?
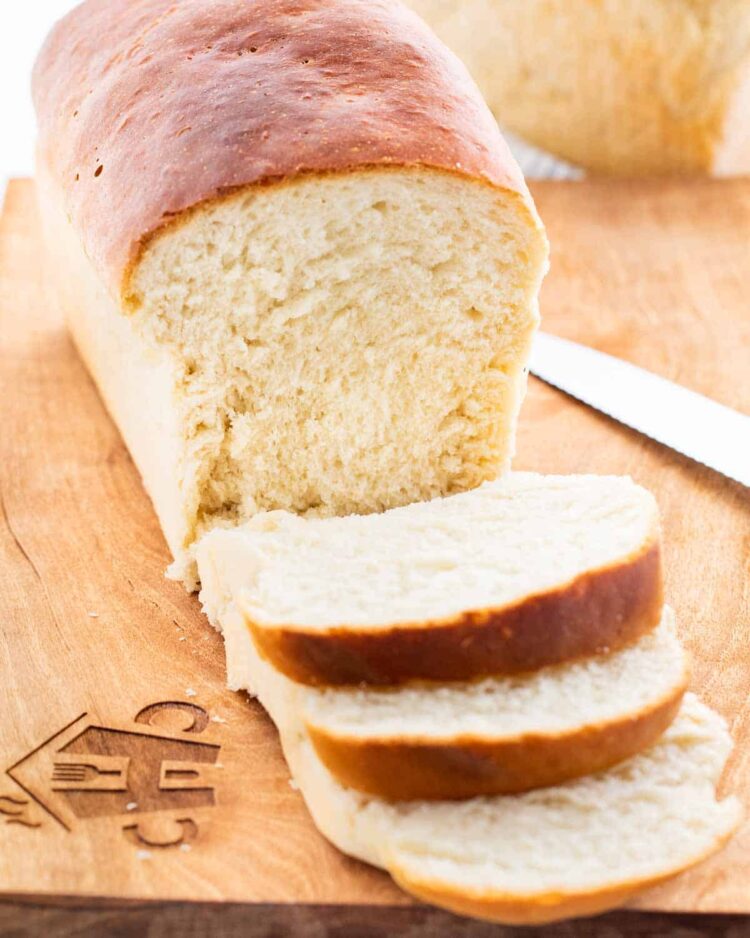
Amish white bread is a homemade bread with a slightly sweet flavor and velvety texture. Another name it can be referred to is “milk bread.” This loaf is the ideal choice for sandwiches!

Ingredients
Keep scrolling down to the printable recipe card for FULL ingredient amounts and instructions or click the “Jump to Recipe” button at the top of the page!
- Water – We need it to be warm water. Since it’s sometimes referred to as milk bread you can go with 1 cup of milk and 1 cup of water, up to you.
- Sugar – Plain ol’ granulated. Sugar is important when making bread, not only does it feed the yeast, but it will make the bread soft and tender.
- Yeast – Using active dry yeast for this one! You can use instant yeast. The difference really is that active dry yeast needs to be activated first, whereas with instant yeast it’s not necessary.
- Salt – When it comes to breads, salt is a must, it’s what flavors the bread, otherwise it has no taste at all.
- Vegetable Oil – Substitute canola oil, grapeseed oil or sunflower oil. Did you know that fats when added to breads work as tenderizers by coating some of the proteins that form gluten, and it helps in prolonging shelf life.
- Flour – Trusty all purpose flour.
- Butter – Melted, to brush over the top (optional)
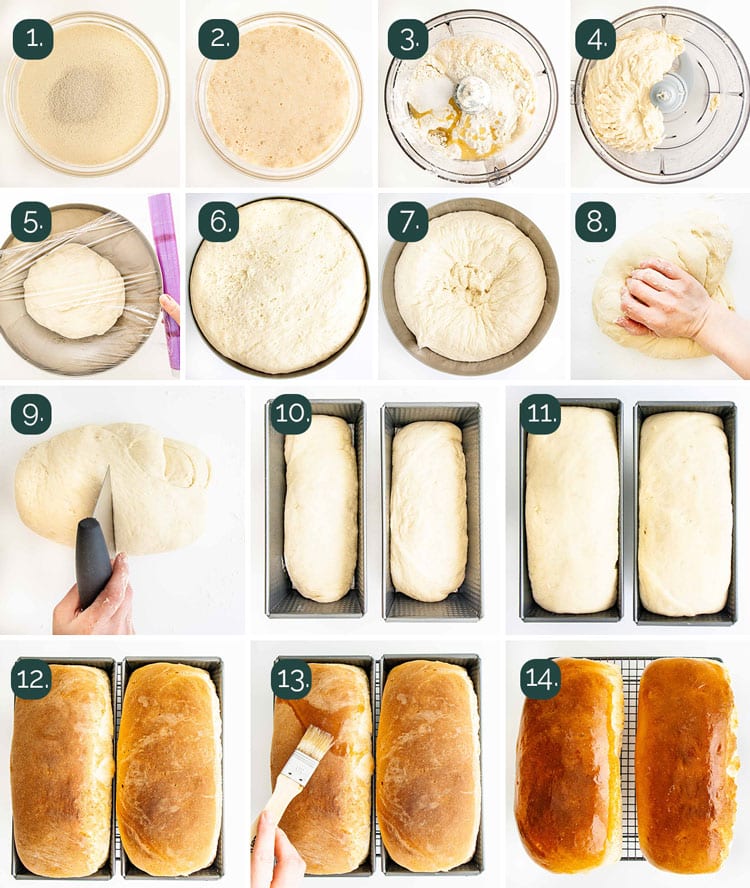
How to make Amish white bread
- Proof Yeast Mixture: Dissolve the sugar into the warm water. Mix in the yeast, and let the mixture proof for 5-10 minutes or until foamy.
- Mix: Equip your mixer with the dough hook. Pour the yeast mixture into the bowl of your mixer along with the salt, vegetable oil and 2 cups of the flour. Mix at medium speed until everything is well incorporated.
- Add Remaining Flour: With the mixer still running, add the remaining flour 1 cup at a time until the dough is smooth, elastic, and pulls away from the side of the mixing bowl. The dough is soft, but not sticky and it’s ready when it comes clean from the side of the bowl.
- First Rise: Place the dough into a large oiled bowl. Cover the bowl with plastic wrap and allow the dough to rise in a warm, draft-free environment until doubled in size. About 1 hour.
- Cut Dough – Punch the dough down and turn it onto your work surface. Knead it a few times, and use a bench scraper or sharp knife to divide the dough in half. Form each half into smooth loaves and place them into two well greased loaf pans.
- Second Rise & Preheat – Let the loaves rise in a warm, draft-free environment for 30-40 minutes until the dough has risen about 1″ above the top of the pans. In the meantime, preheat the oven to 350F.
- Bake – Bake the loaves for 30 minutes until the tops are nicely browned.
- Optional: Brush the top of the loaves with melted butter immediately out of the oven to give them a nice and soft crust.

My dough didn’t rise!
One of the biggest problems when making bread is the dough not rising. There are many reasons why dough doesn’t rise, so here’s my list for possible reasons.
- Dead yeast – this is probably the number 1 reason 90% of the time. I know it’s frustrating, but if the yeast is old, that dough will not rise, and you’ll end up with a brick of bread. Make sure you store yeast properly, for some tips on how to store yeast, check out this article. Sometimes even if the yeast is not past its expiration date, it could still be dead.
- Water is too hot – yes, yeast loves a warm environment, which is why we usually add lukewarm water or milk to dough. However if that water or milk is too hot, it will kill the yeast. The best temperature of the water should be anywhere from 95 degrees to 105 degrees for this.
- Environment – if your room is too cold, this will also prevent dough from rising. Yeast loves a warm and draft-free environment. Best place to allow your dough to rise in in your oven. I usually preheat to whatever the lowest setting is on your oven for a couple minutes, then turn off the oven. Add the dough in there and it will rest nicely and peacefully.
- Not enough time to rise – patience is key. Sometimes your dough make take 2 to 3 hours to rise properly. Just give it some more time, if the yeast is good, it will do its job.

How to serve
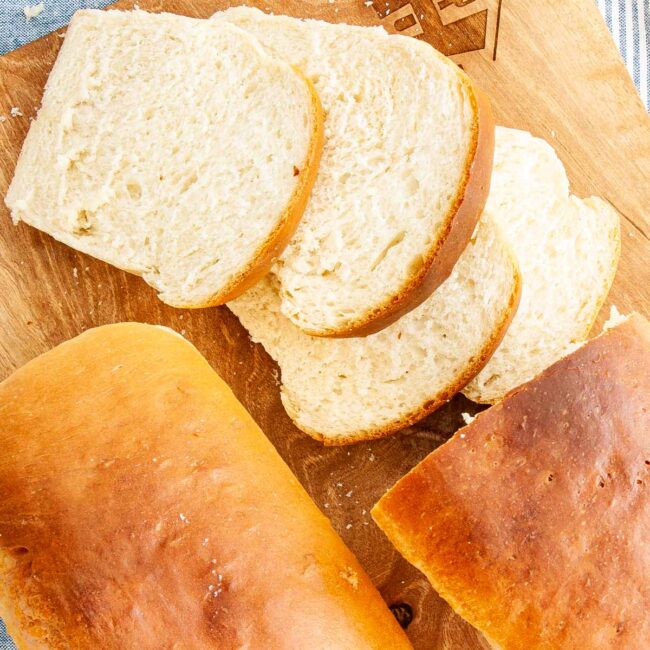
This is truly the ideal bread for sandwiches like my chicken salad, egg salad or tuna salad! But can also be served however or with whatever you choose to serve your typical store bought bread with! Toast & jam, spread some homemade apple butter on it, make a grilled cheese, you name it – this bread can do it!
How to store bread
Store leftover Amish bread in a bread box or wrapped tightly on the counter for 2-3 days or in the fridge for up to 7 days.
Freezing
This recipe also freezes well, therefore you can make several batches to have on hand when you need them! Make sure bread is fully cooled before storing in the freezer, defrost when needed.
Did you like this recipe? Try these!
- Focaccia Bread
- Irish Soda Bread
- Honey Rolls
- No Knead Skillet Bread
- Butter Biscuits
- Garlic Parmesan Skillet Rolls
- Raisin Bread
- No Knead Olive Bread
- Naan
Amish White Bread
Ingredients
- 2 cups water warm
- ⅔ cup sugar granulated
- 1½ tablespoon active dry yeast
- 1½ teaspoon salt
- ¼ cup vegetable oil
- 5½ cups flour up to 6 cups if needed
- 1 tablespoon butter melted, optional
Instructions
- Proof Yeast Mixture: Dissolve the sugar into the warm water. Mix in the yeast, and let the mixture proof for 5-10 minutes or until foamy.
- Mix: Equip your mixer with the dough hook. Pour the yeast mixture into the bowl of your mixer along with the salt, vegetable oil and 2 cups of the flour. Mix at medium speed until everything is well incorporated.
- Add Remaining Flour: With the mixer still running, add the remaining flour 1 cup at a time until the dough is smooth, elastic, and pulls away from the side of the mixing bowl. The dough is soft, but not sticky and it’s ready when it comes clean from the side of the bowl.
- First Rise: Place the dough into a large oiled bowl. Cover the bowl with plastic wrap and allow the dough to rise in a warm, draft-free environment until doubled in size. About 1 hour.
- Cut Dough – Punch the dough down and turn it onto your work surface. Knead it a few times, and use a bench scraper or sharp knife to divide the dough in half. Form each half into smooth loaves and place them into two well greased loaf pans.
- Second Rise & Preheat – Let the loaves rise in a warm, draft-free environment for 30-40 minutes until the dough has risen about 1" above the top of the pans. In the meantime, preheat the oven to 350℉.
- Bake – Bake the loaves for 30 minutes until the tops are nicely browned.
- Optional:Brush the top of the loaves with melted butter immediately out of the oven to give them a nice and soft crust.
Tips & Notes:
- Store leftover Amish bread in a bread box or wrapped tightly on the counter for 2-3 days or in the fridge for up to 7 days.
- This recipe also freezes well, therefore you can make several batches to have on hand when you need them! Make sure bread is fully cooled before storing in the freezer, defrost when needed.