This post may contain affiliate links. Please read my disclosure policy.

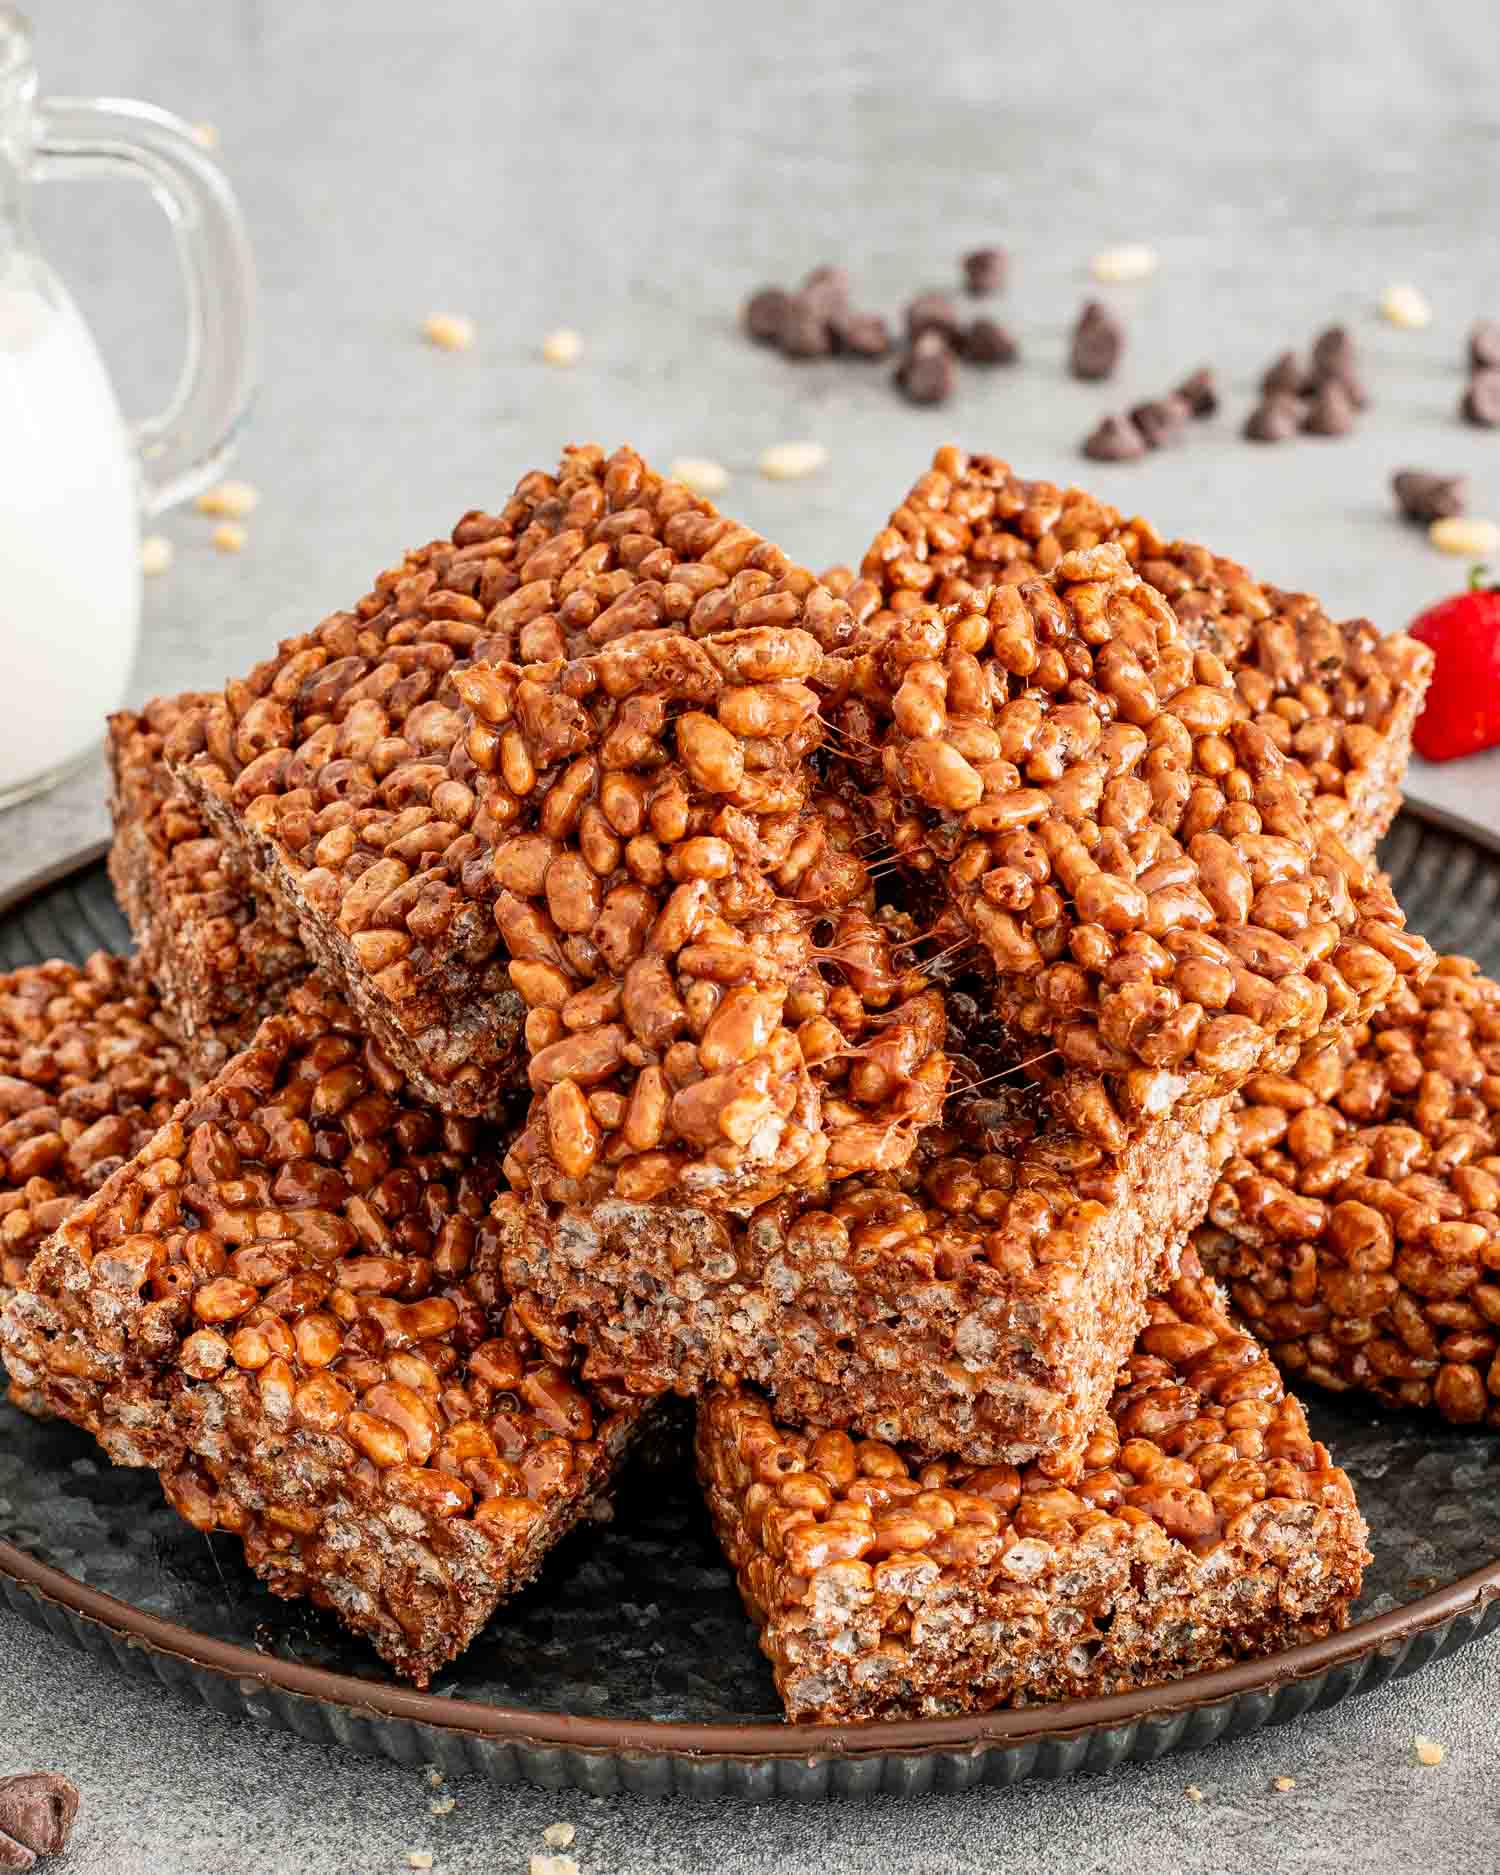
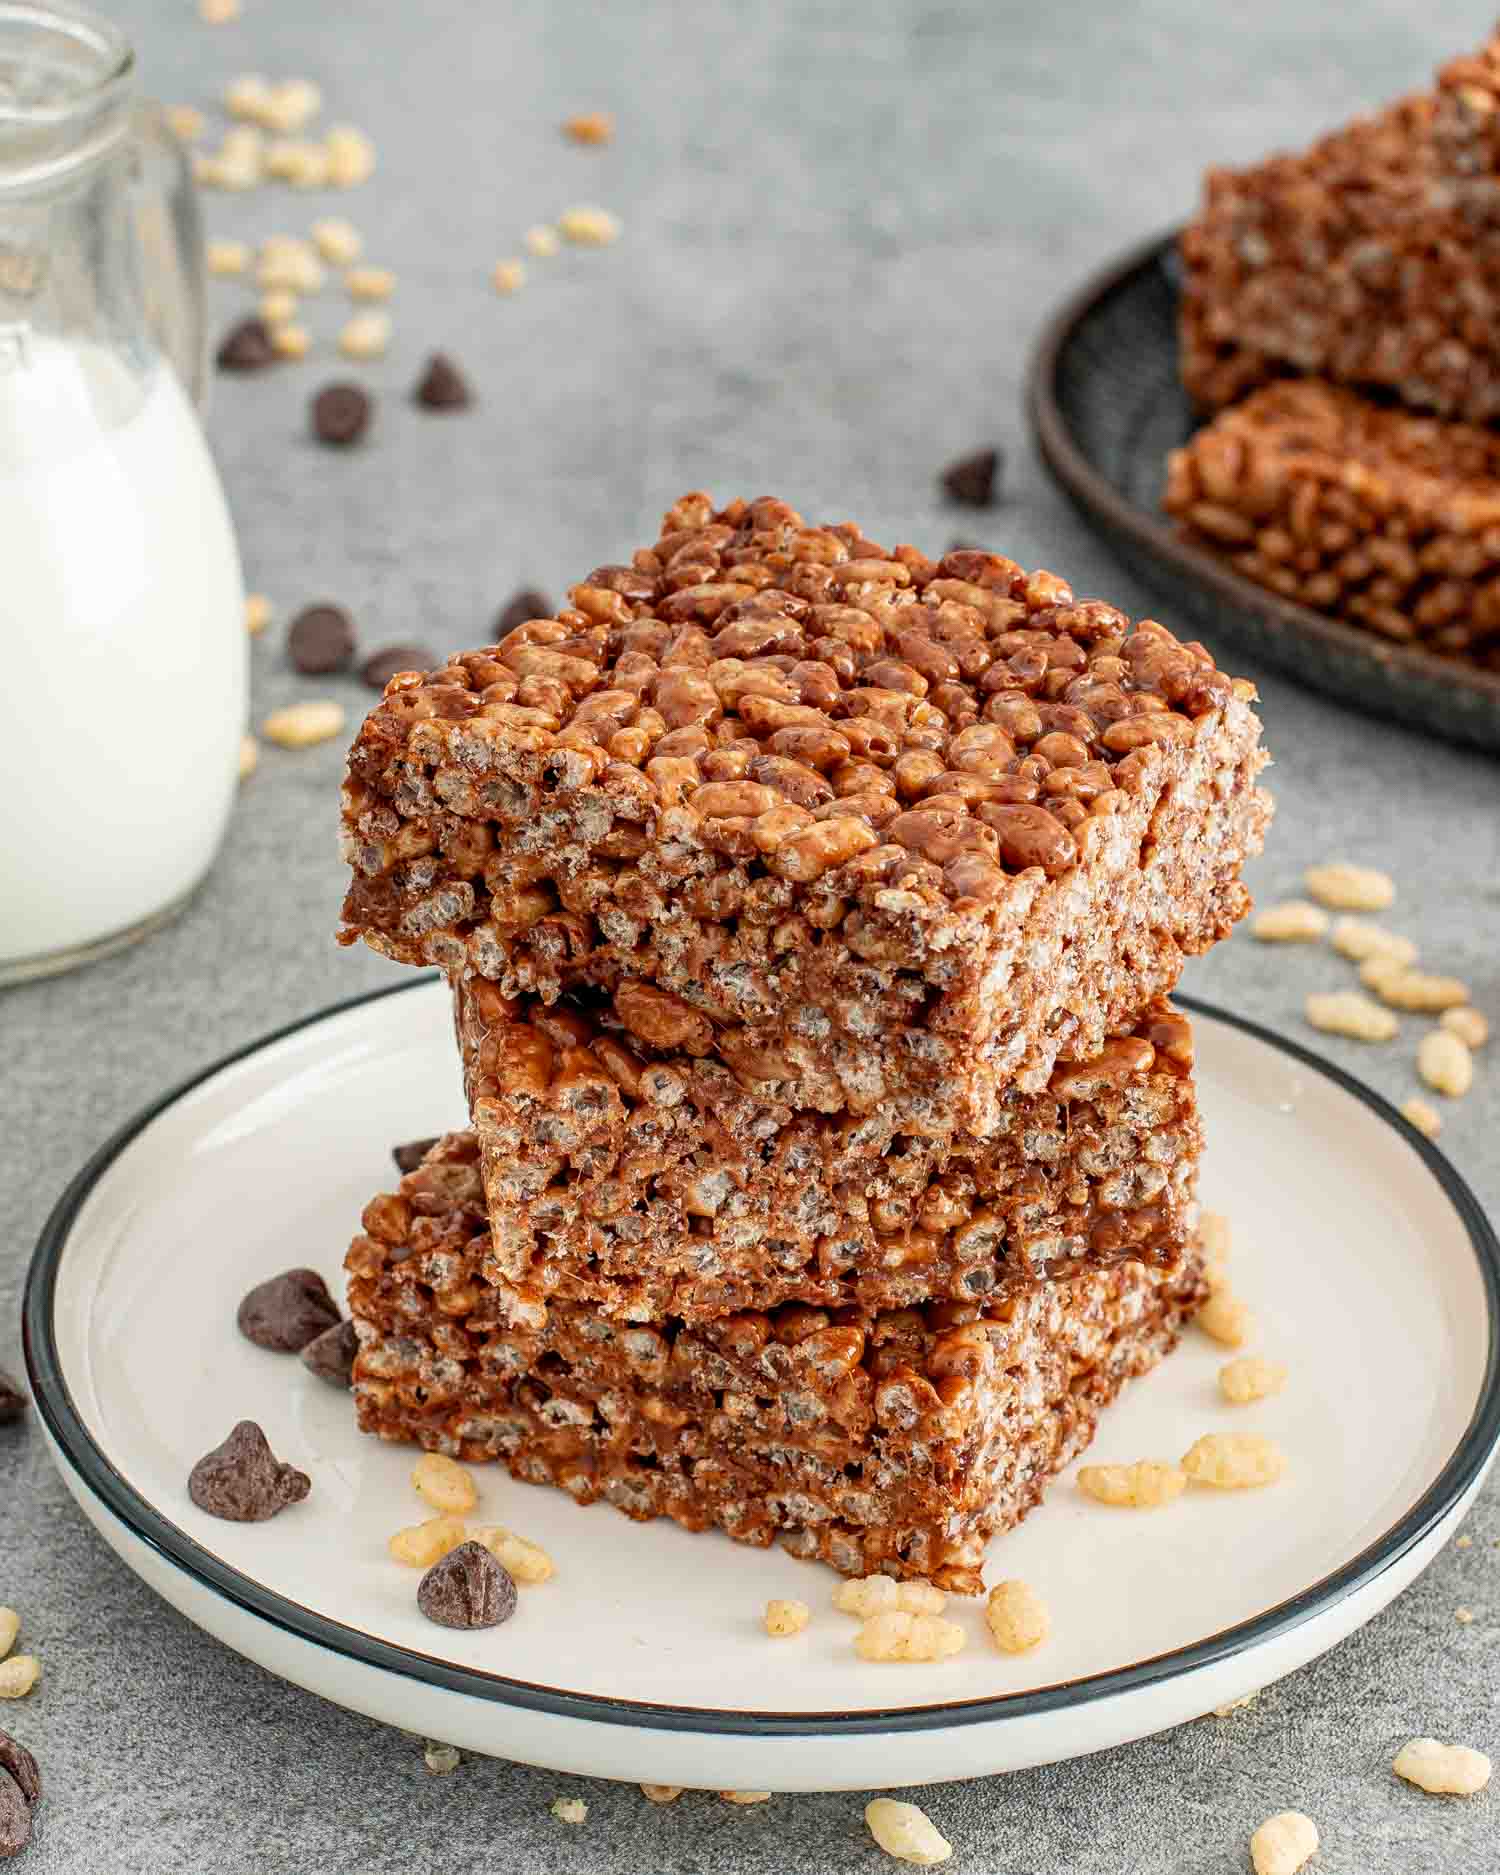
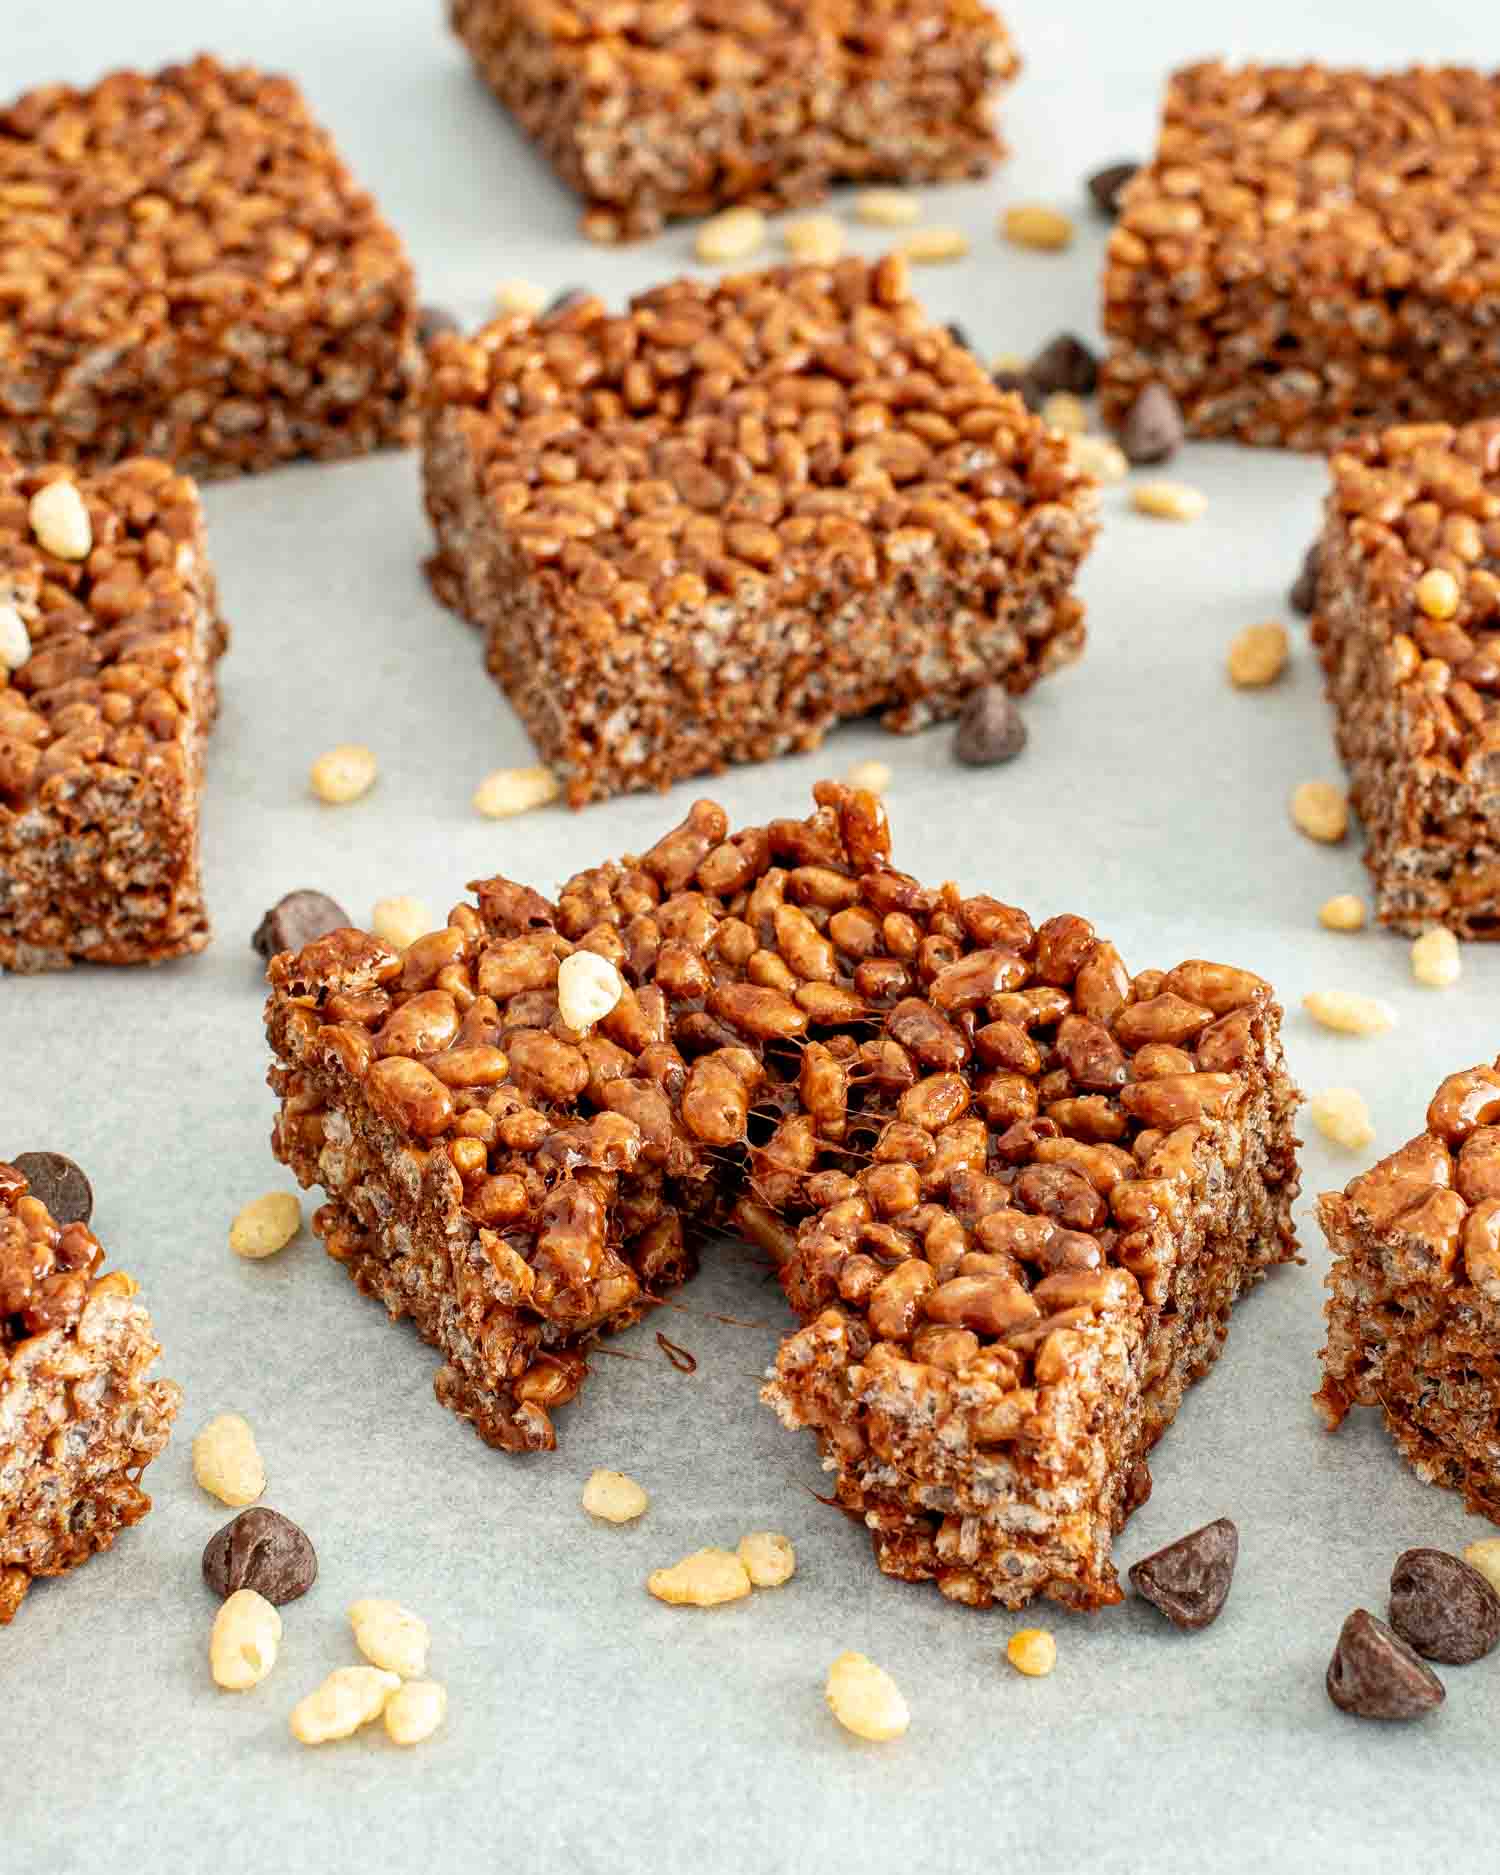
Crispy, chewy, and bursting with chocolatey delight, these Chocolate Rice Krispie Treats are your ticket to instant happiness! Each bite is an explosion of flavors and textures with the crunch of rice cereal, the stretch of gooey marshmallows, and the decadence of chocolate!
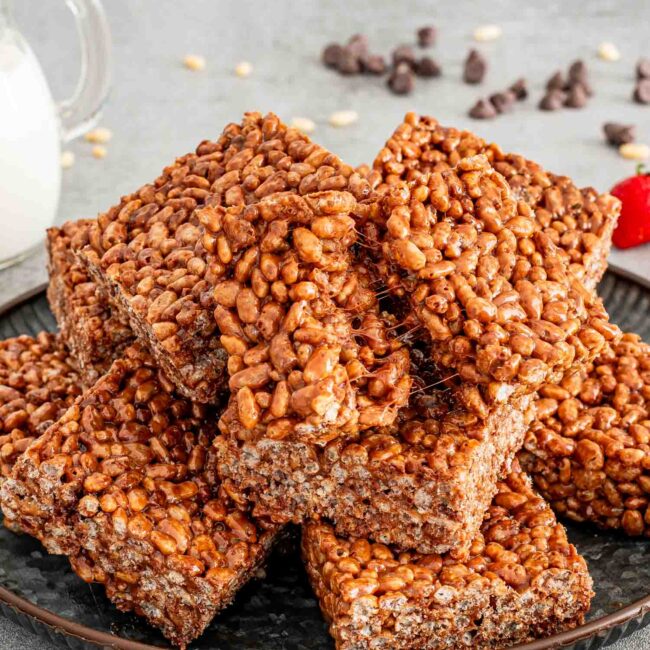
Easy Chocolate Rice Krispie Treats
If you’re a chocolate lover with a soft spot for classic Rice Krispie treats, then you’re in for a sweet surprise! Featuring the satisfying snap of crisp rice cereal blending together with pillowy soft marshmallows and rich, melted semi-sweet chocolate, this recipe elevates the popular classic to a whole new level.
Why You’ll Love These Chocolate Rice Krispie Treats
- Easy Sweet Treat! You’ll fall head over heels for the sheer simplicity of this easy recipe. With just a handful of ingredients and a few simple steps, you can effortlessly whip up a scrumptious dessert.
- Chocolatey Twist! The addition of melted chocolate infuses each bite with a decadent flavor that’s simply irresistible. It’s like a love affair between the timeless classic and the allure of chocolate.
- Family Favorite! Whether you serve these chocolate Rice Krispie treats as an after-school snack or a simple dessert after dinner, they’re sure to be a hit with the whole family.
Ingredients You’ll Need
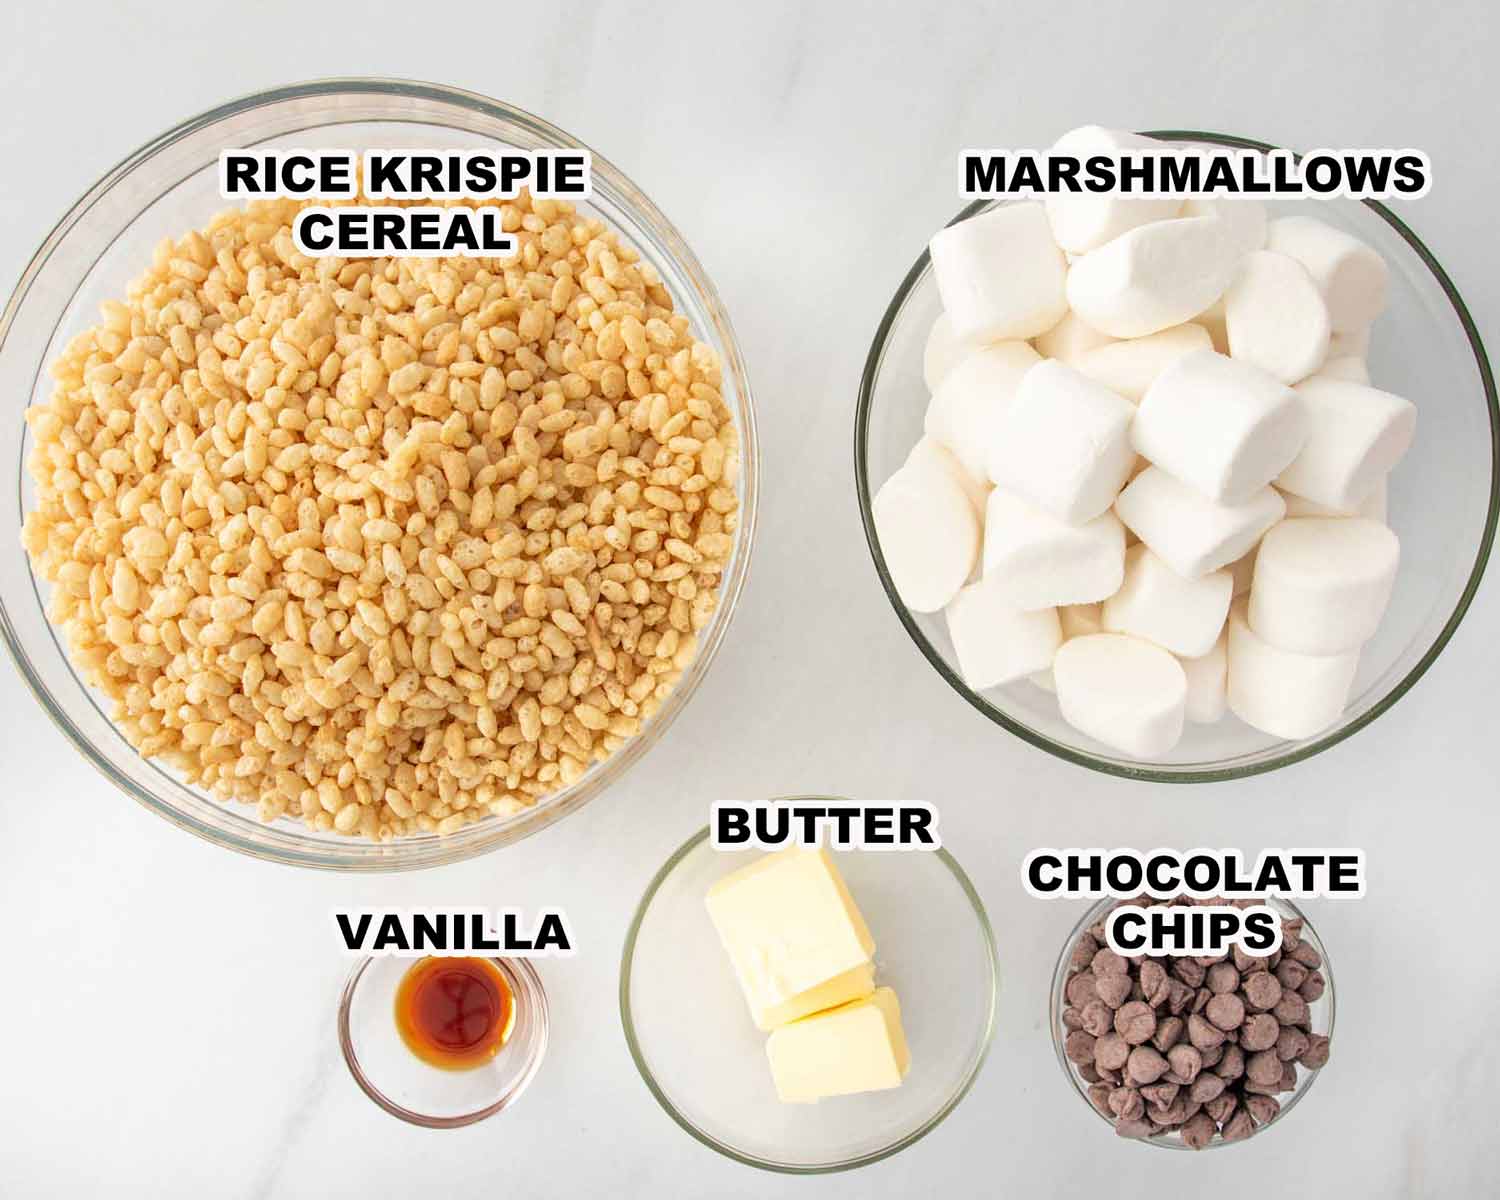
- Rice Krispie Cereal: Forms the crispy foundation. You can use any brand of crispy rice cereal.
- Mini Marshmallows: Provide the chewy, gooey texture that makes the treats so yummy. Regular-sized marshmallows work too but will require a bit more melting time.
- Unsalted Butter: Adds richness and buttery flavor. You should always use unsalted butter to control the saltiness of your treats.
- Vanilla Extract: Just a splash enhances the chocolate flavor.
- Chocolate Chips: These gems provide the chocolatey goodness! I like to use semi-sweet chocolate chips, but you can also use milk chocolate or dark chocolate chips.
One of the best things about this popular favorite is how easy it is to make! With minimal ingredients and effort, you can have a delicious dessert ready to enjoy in under an hour!
Grease The Baking Dish
Begin by generously greasing a 9×13-inch baking dish with cooking spray or butter. This step ensures that your treats won’t stick to the dish, making them easier to cut and serve.
Melt The Butter And Marshmallows
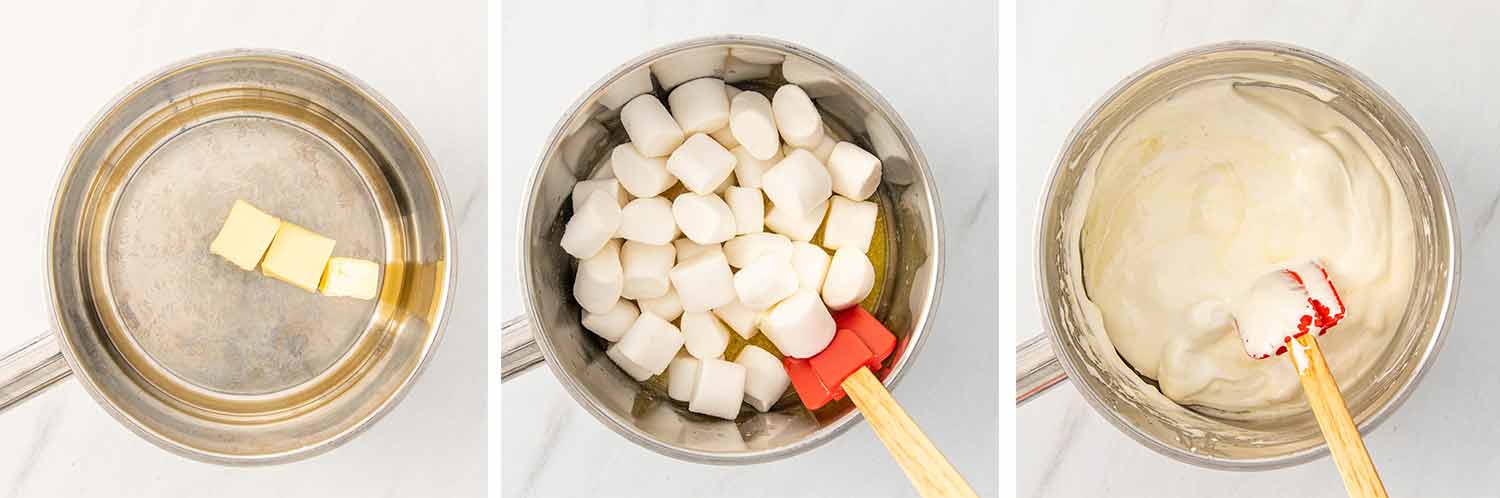
Next, add the butter to a large pot and melt it over low heat. Then add the mini marshmallows and stir continuously until they melt into smooth gooey goodness.
Add The Chocolate And Cereal
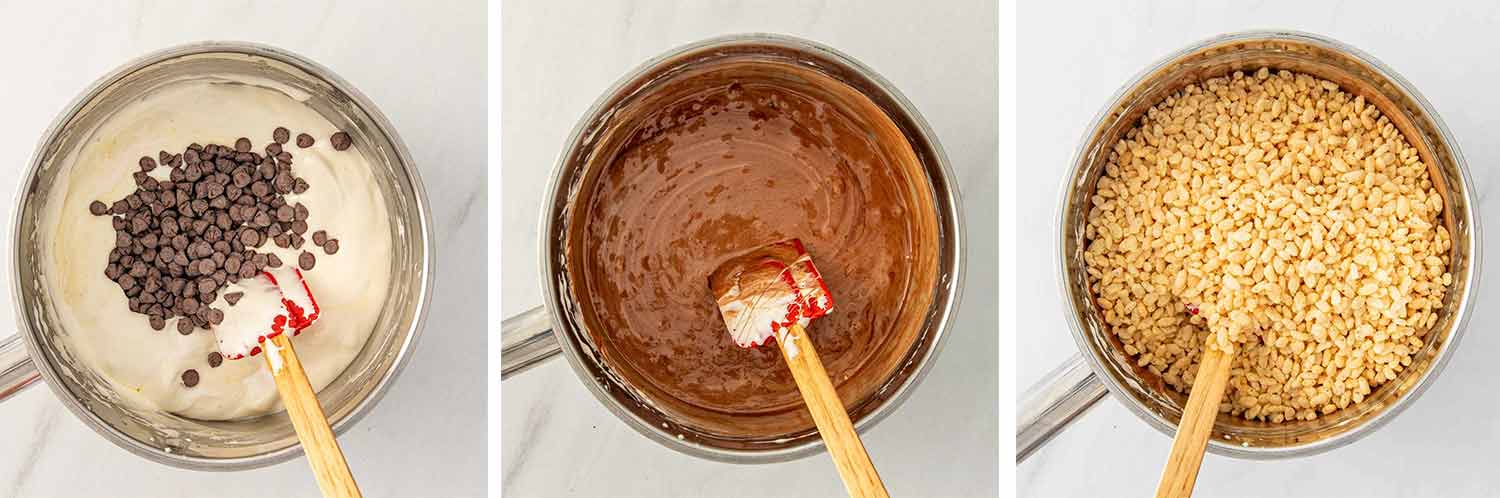
Once you’ve finished melting your marshmallows, stir the vanilla extract and semi-sweet chocolate chips into the mixture. Then continue to stir until the chocolate fully melts and the mixture becomes smooth. Remove the saucepan from the heat and add the cereal. Then stir the mixture until the cereal is entirely coated.
Form, Cool And Cut
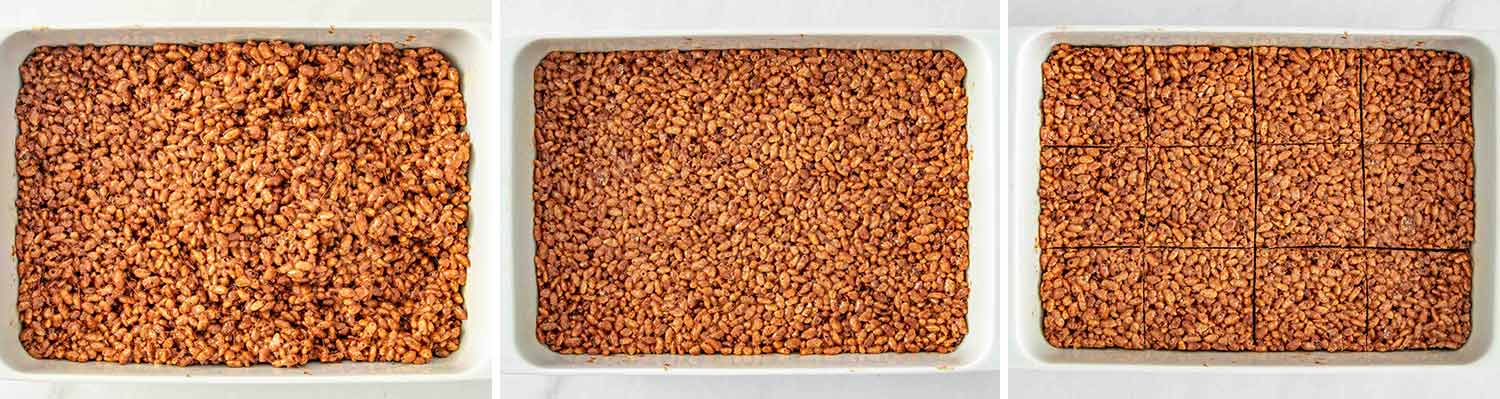
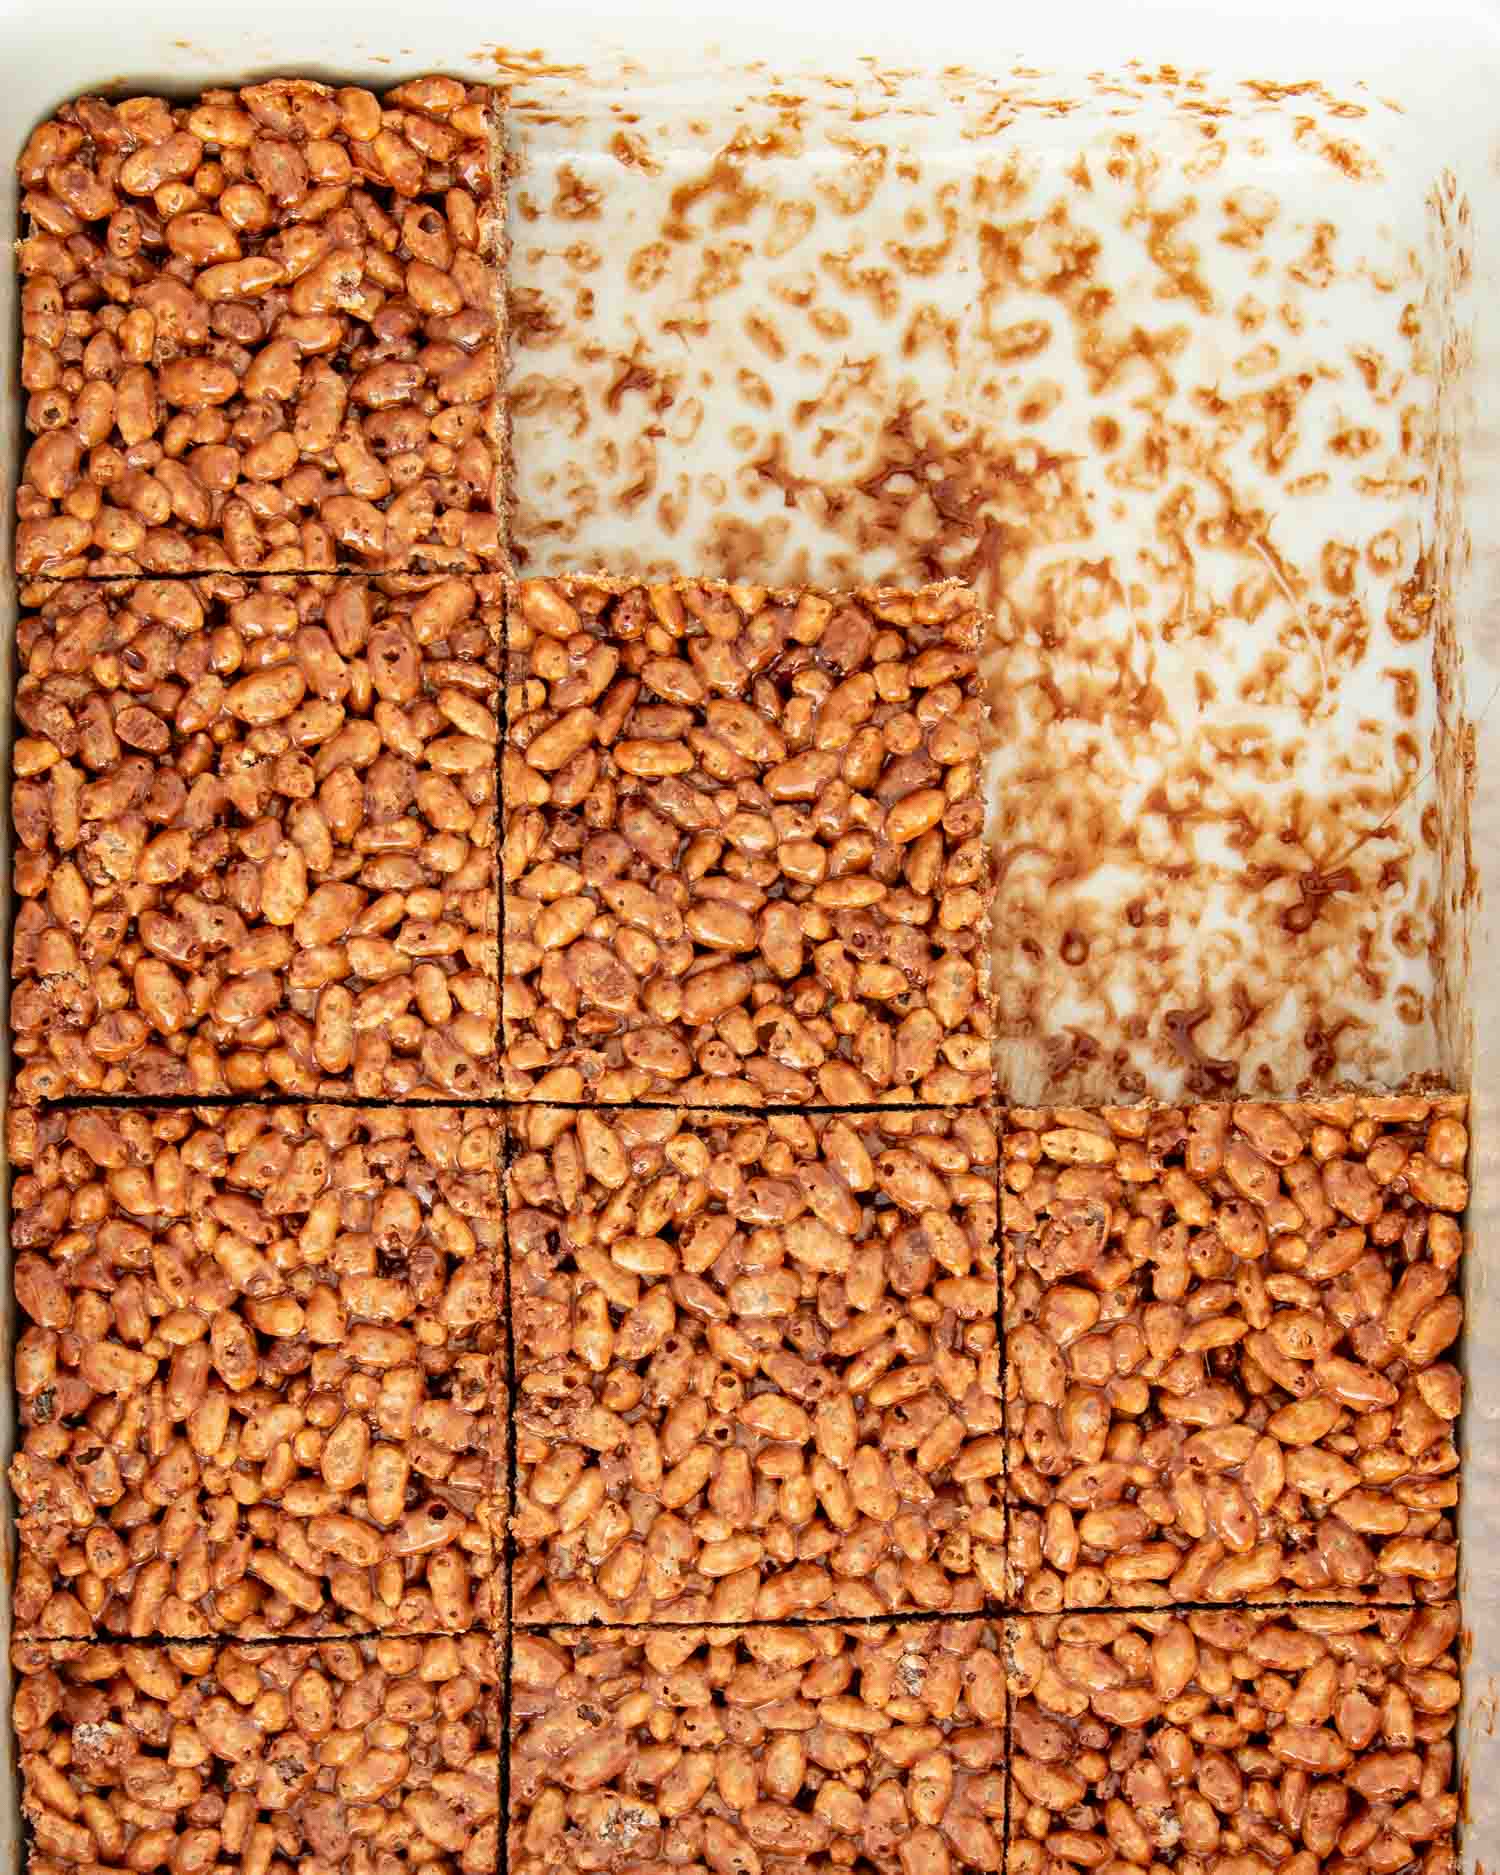
Now, transfer the mixture to your prepared pan. Then use your hands or a lightly greased spatula and press the mixture evenly into the dish. The goal is to create a smooth, even layer. Let the mixture cool completely in the dish for about an hour to set. Then use a sharp knife to cut it into squares or rectangles. Now, serve your chocolate Rice Krispie treats or store them in an airtight container for up to 3 days.
Frequently Asked Questions
What can I add to the treats?
Anything you like! Some popular options include chopped nuts, dried fruits, colored sprinkles, or even a swirl of peanut butter to make chocolate peanut butter Rice Krispie treats! Better yet, use Cocoa Krispies to add yet another layer of chocolate.
Why are my Rice Krispie treats hard?
It’s likely due to overcooking the marshmallow mixture or not properly measuring the ingredients. To achieve the perfect soft and chewy consistency, be sure to melt the marshmallows gently over low heat, stirring continuously until smooth. Additionally, accurately measuring the ingredients is essential for the right texture.
Why won’t my marshmallows melt?
Sometimes marshmallows won’t melt if they are old and have lost their moisture. Using stale marshmallows can result in a stubborn, lumpy texture.
Expert Tips
- Grease your pan. Don’t forget to grease your pan with cooking spray or butter. This small but essential step ensures that your chocolate Rice Krispie treats don’t stick. You can also use parchment paper if you like.
- Watch the butter. Make sure to melt the butter over low heat so that it doesn’t burn and develop any undesirable flavors.
- Swiftly add the cereal. After melting the marshmallows and chocolate, add the cereal immediately and form the treats. As it cools, the mixture becomes more difficult to work with.
- Allow them to set. Let the treats sit in the pan for about an hour. This time allows them to firm up and maintain their shape, making them easier to cut and serve.
Storage
After they are cooled and cut, you can store your chocolate Rice Krispie treats at room temperature in an airtight container for about 3 days. Alternatively, you can store them in the freezer for up to 2 months, just be sure to separate the treats with parchment paper before freezing.
Discover More Delicious Treats
- Strawberry Oatmeal Bars
- Slow Cooker Chocolate Candy
- Sour Cream Cookies
- Air Fryer Roasted Peanuts
- Peanut Butter Fudge
- No Bake Chocolate Oatmeal Cookies
Chocolate Rice Krispie Treats
Ingredients
- 6 cups Rice Krispie cereal
- 10 ounces marshmallows 1 package
- 3 tablespoons butter unsalted
- ½ teaspoon vanilla extract
- ½ cup semi-sweet chocolate chips
Instructions
- Grease a 9×13-inch baking dish with cooking spray or butter and set it aside.
- In a large saucepan, melt the butter over low heat. Add the marshmallows to the melted butter, stirring continuously until the marshmallows have completely melted.
- Stir in the vanilla extract and chocolate chips, continuing to stir until the chocolate is fully melted and the mixture is smooth.
- Remove the saucepan from the heat and immediately add the Rice Krispie cereal. Stir until the cereal is fully coated in the marshmallow mixture.
- Transfer the mixture to your prepared baking dish. Using a spatula (or your hands, lightly greased with butter or cooking spray to prevent sticking), press the mixture evenly into the dish.
- Allow the Rice Krispie treats to cool completely in the dish, this should take about 1 hour. Once cooled, cut the treats into squares or rectangles using a sharp knife.
- Serve immediately or store in an airtight container for up to 3 days.
Tips & Notes:
- Variation: You can add a sprinkle of sea salt or mix in some crushed nuts for added texture and flavor.
- Storing: If stored in an airtight container at room temperature, these treats can last up to 3 days. For a slightly longer shelf-life, consider refrigerating.
- Chocolate Choice: Opt for high-quality chocolate chips for a richer flavor. Alternatively, you can use dark chocolate chips for a less sweet, more intense chocolate flavor.
- Preventing Stickiness: To easily press the mixture into the dish without sticking, lightly wet your spatula or hands with water.
- Cutting: For cleaner cuts, dip your knife in hot water before slicing the cooled treats.