This post may contain affiliate links. Please read my disclosure policy.

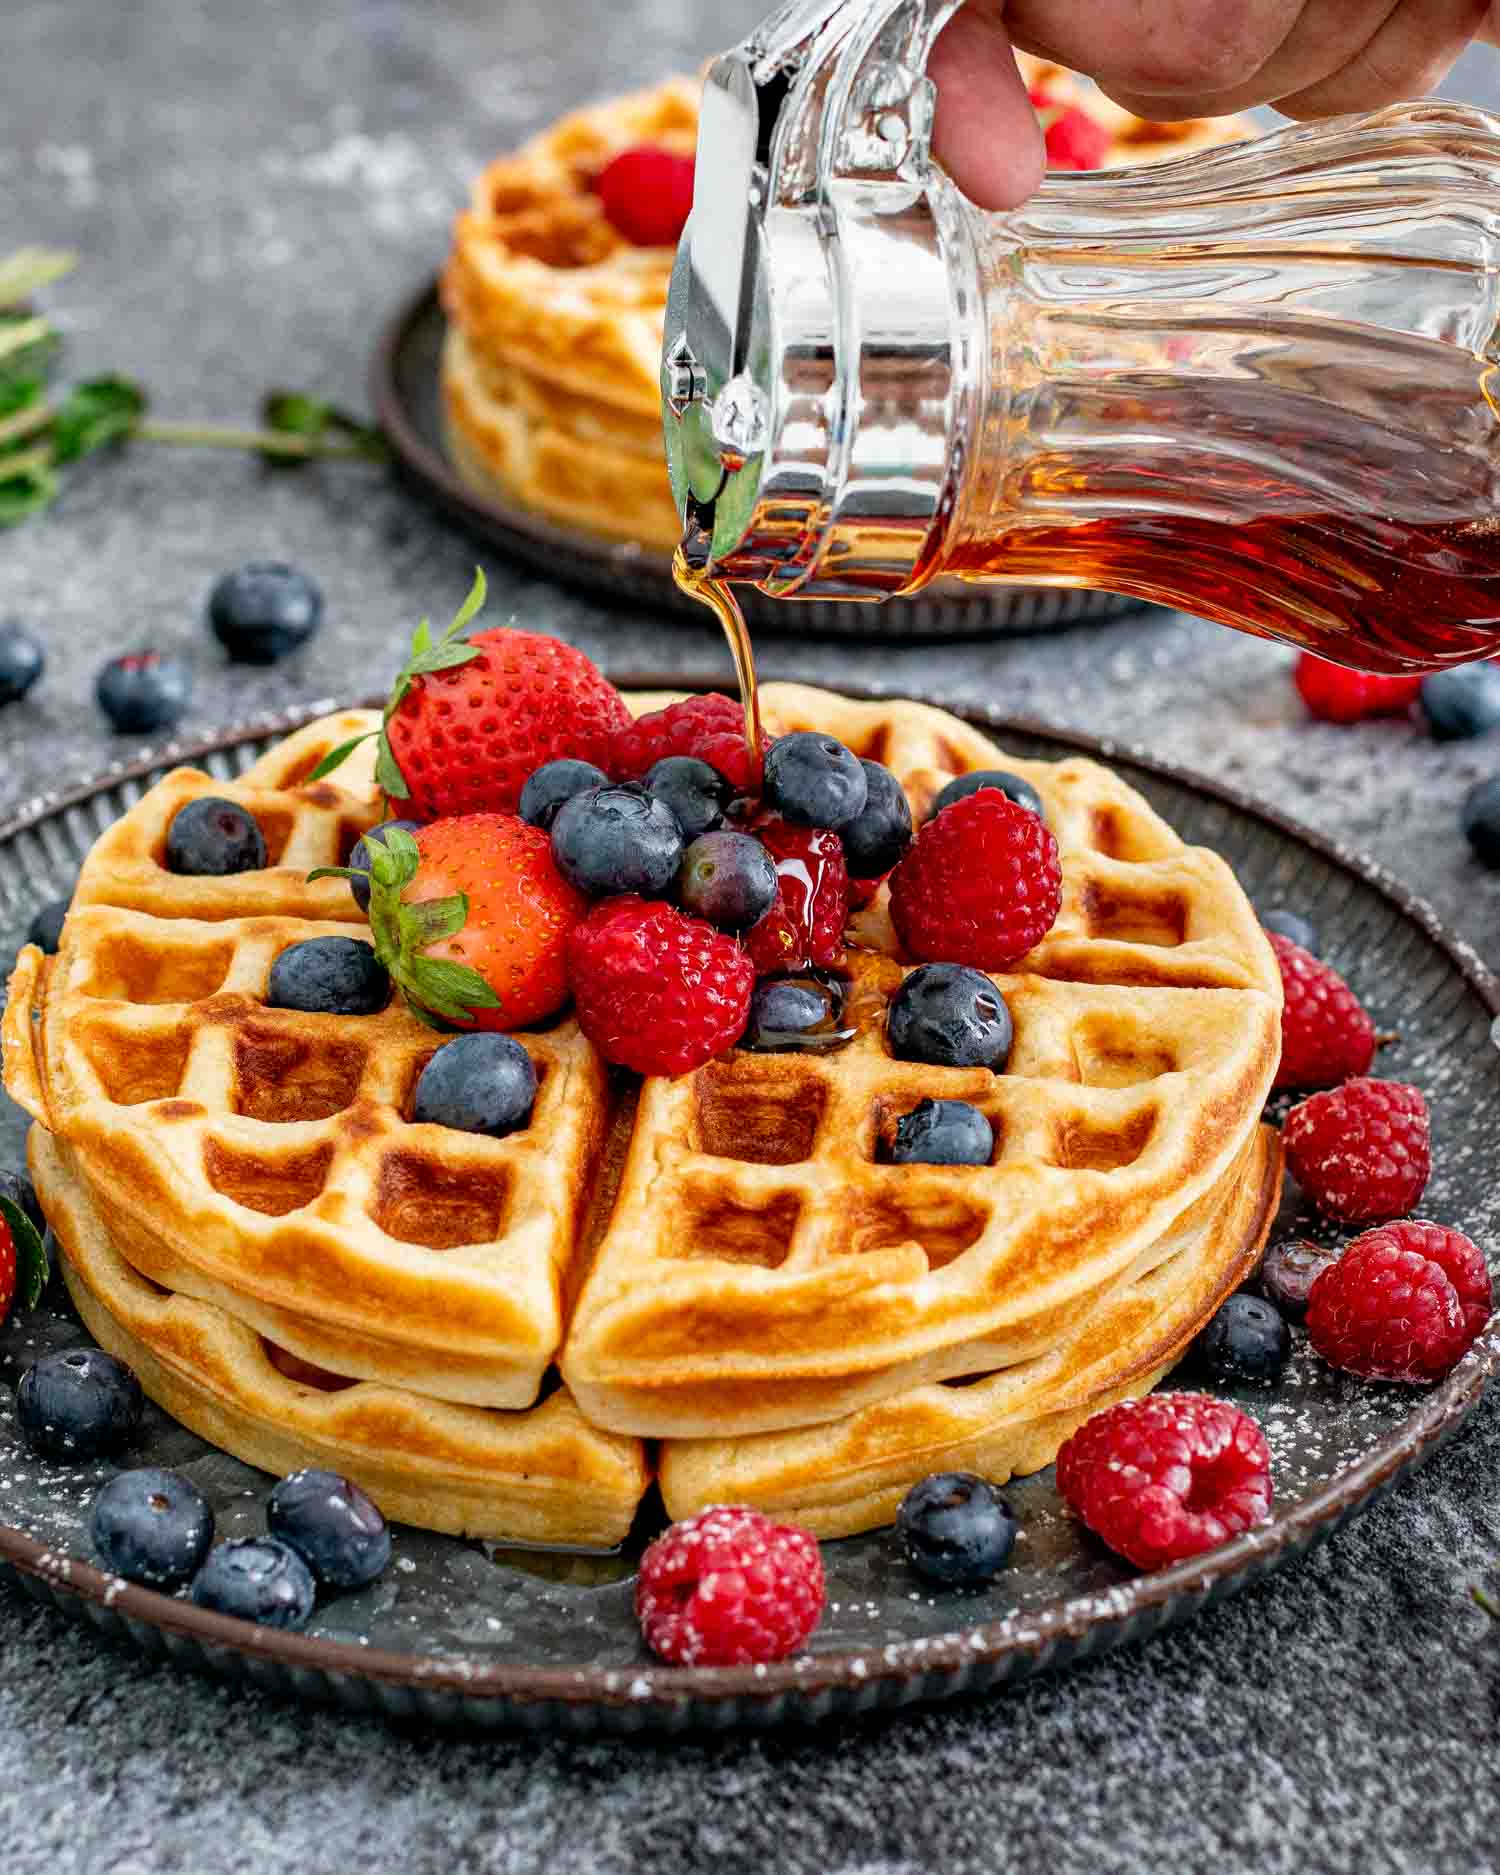
Ready for a breakfast that makes you leap out of bed? These Easy Waffles, crisp on the outside, fluffy on the inside, and deliciously buttery all over, are the secret to turning morning meals into a gourmet experience, right in the comfort of your home. Trust me, once you try these, you’ll bid adieu to boxed mix for good!
Easy Waffles
Meet your new breakfast obsession: Waffles. Imagine starting your day with these golden beauties, crisp on the outside, warm and fluffy on the inside. They are pure joy on a plate, graced with a touch of vanilla that makes every bite feel like a little celebration. The aroma of these waffles sizzling in the waffle iron alone is worth setting an early alarm.
But don’t just dream about them – grab your apron and whisk! The magic of these waffles lies in their simplicity. Basic pantry staples come together to create something extraordinary. We’re talking about all-purpose flour, sugar, and a bit of baking powder paired with eggs, milk, and a drizzle of melted butter. Mix it up, ladle it onto a hot waffle iron, and voila – a homemade breakfast that makes every morning feel like a Sunday.
Why You’ll Love These Waffles
- Unmatched Freshness and Flavor: Nothing compares to the taste of homemade waffles. The delightful aroma, the perfect crispness on the outside, the soft and fluffy interior – it’s a sensory experience that no store-bought or restaurant waffle can match.
- Simple Ingredients, Stellar Results: These waffles are made from basic pantry ingredients – flour, sugar, eggs, milk, and butter. No fancy or hard-to-find components required.
- Endless Customization: One of the biggest perks of making waffles at home is the freedom to personalize them. Every plate can be a unique creation, tailored to your cravings.
Ingredients You’ll Need
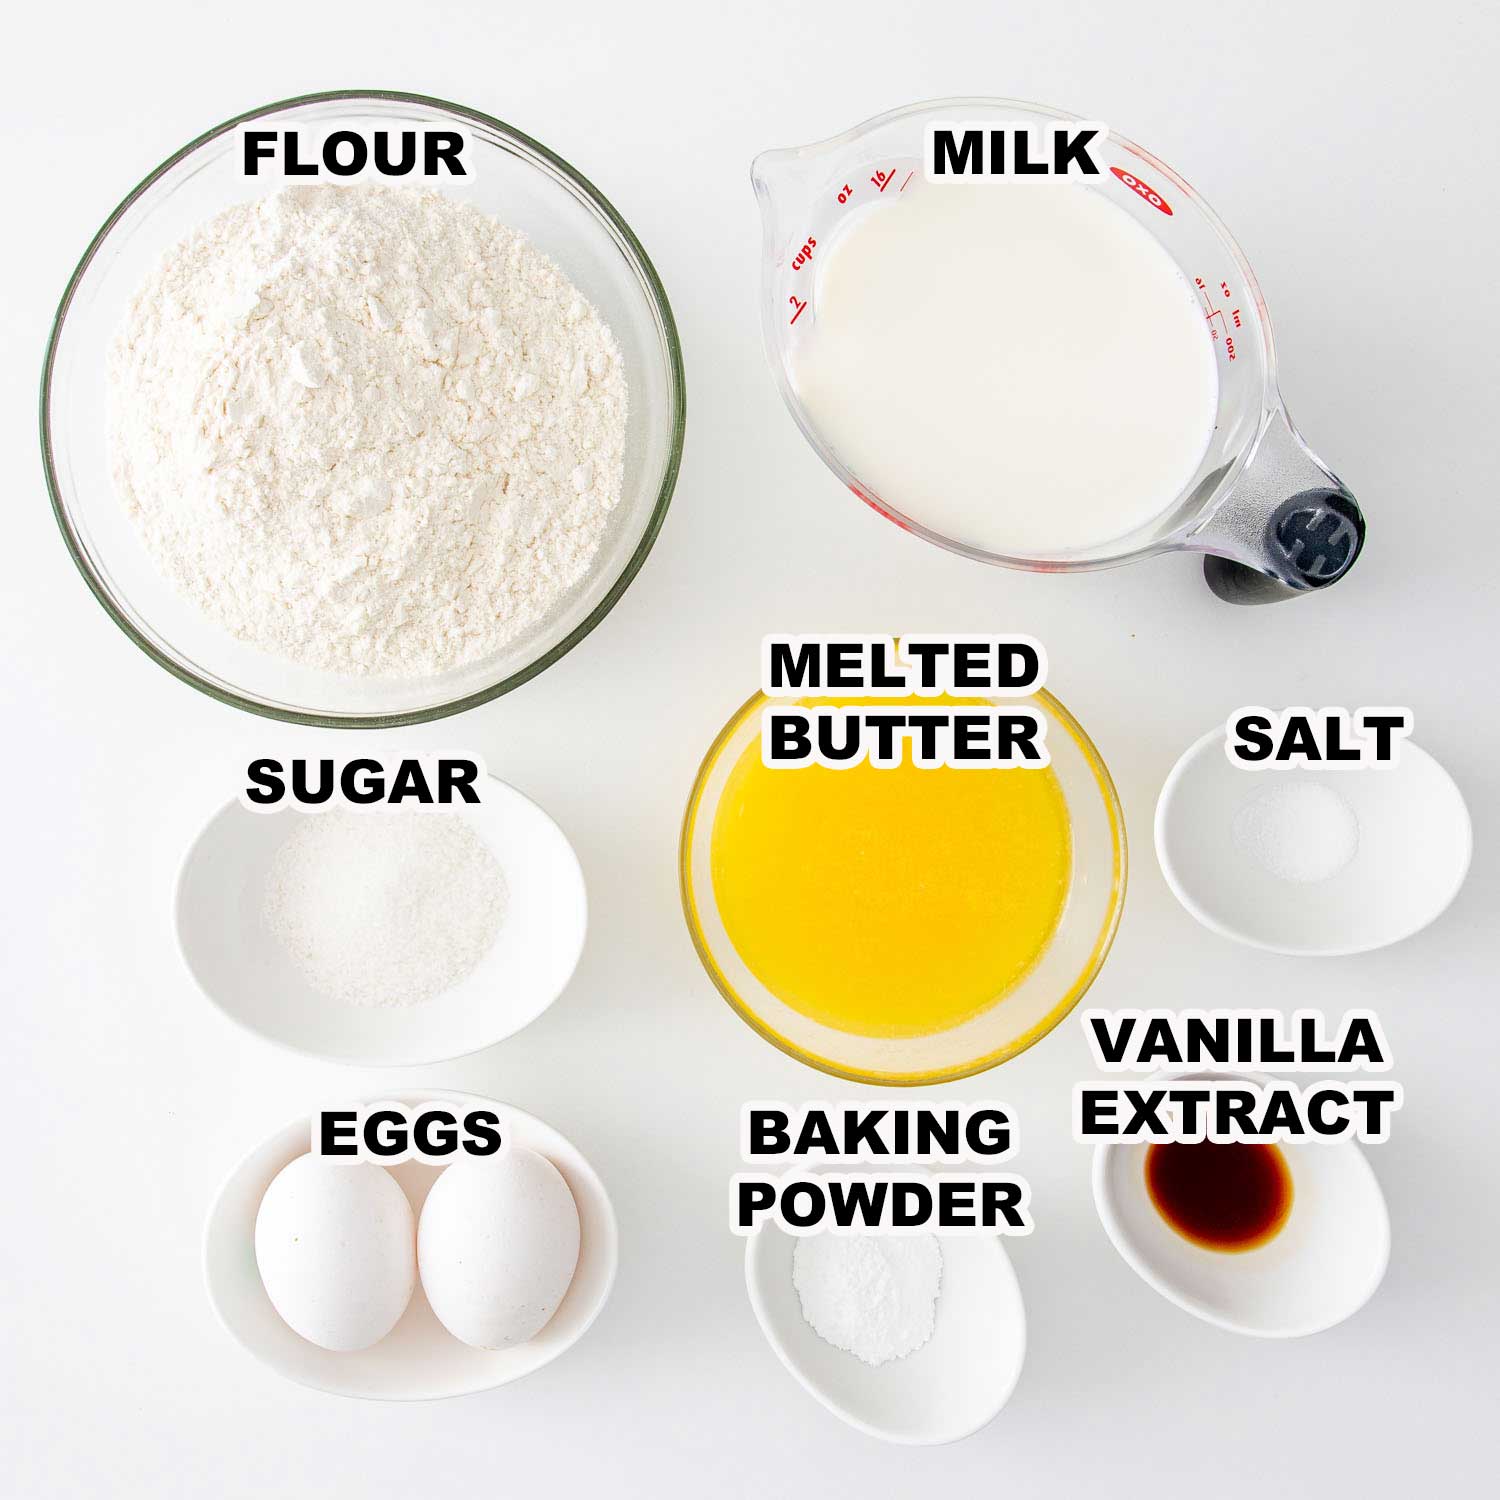
- All-purpose flour forms the base of our waffles, giving them structure. If you’re out of it or prefer something healthier, whole wheat flour is a great alternative.
- Granulated sugar lends a touch of sweetness. Feel free to swap it with honey or maple syrup if you prefer natural sweeteners. Just keep in mind that liquid sweeteners might slightly alter the texture.
- Baking powder is our leavening agent. It’s what makes our waffles puff up and become wonderfully fluffy. No baking powder? No worries! A combination of cream of tartar and baking soda can work in a pinch.
- A pinch of salt is added to enhance all the other flavors. It’s a small but significant ingredient.
- Large eggs contribute to the richness and help bind the ingredients together. If you’re vegan or allergic, applesauce or mashed bananas are common egg substitutes in baking.
- Milk provides moisture and aids in achieving that ideal soft interior. Any type of milk works, so feel free to use what you have. Almond milk, oat milk, or soy milk are great for a dairy-free version.
- Unsalted melted butter infuses our waffles with a delightful buttery taste. If you’re out of butter, melted coconut oil or even vegetable oil can be used.
- Lastly, a dash of vanilla extract heightens the overall flavor, making your waffles smell and taste bakery-level good. In its absence, almond extract or even a sprinkle of cinnamon can add an interesting twist.
You won’t believe how easy these waffles are to whip up. Let’s dive in!
Preheat Your Waffle Iron
First things first, let’s fire up that waffle iron. Preheat it as per the manufacturer’s instructions, and while it’s getting hot, we’ll prepare our batter. Just like with an oven, preheating ensures that your waffles start cooking as soon as they hit the iron, giving them a perfectly crisp exterior.
Mix The Dry Ingredients
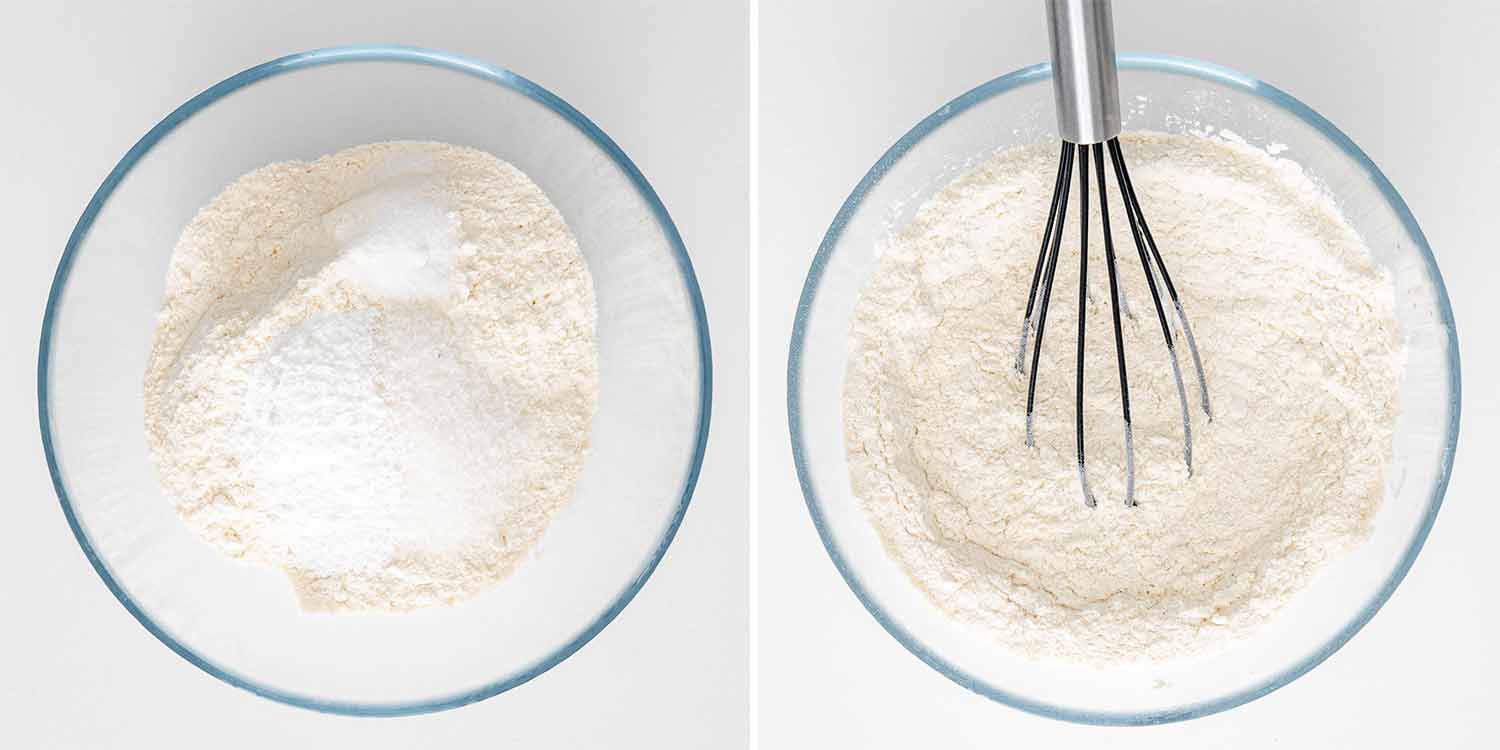
Grab a large bowl, and whisk together your all-purpose flour, granulated sugar, baking powder, and salt. We’re combining all the dry ingredients first to make sure they’re evenly distributed. This is important because it ensures each waffle has just the right balance of sweetness and fluffiness.
Combine The Wet Ingredients
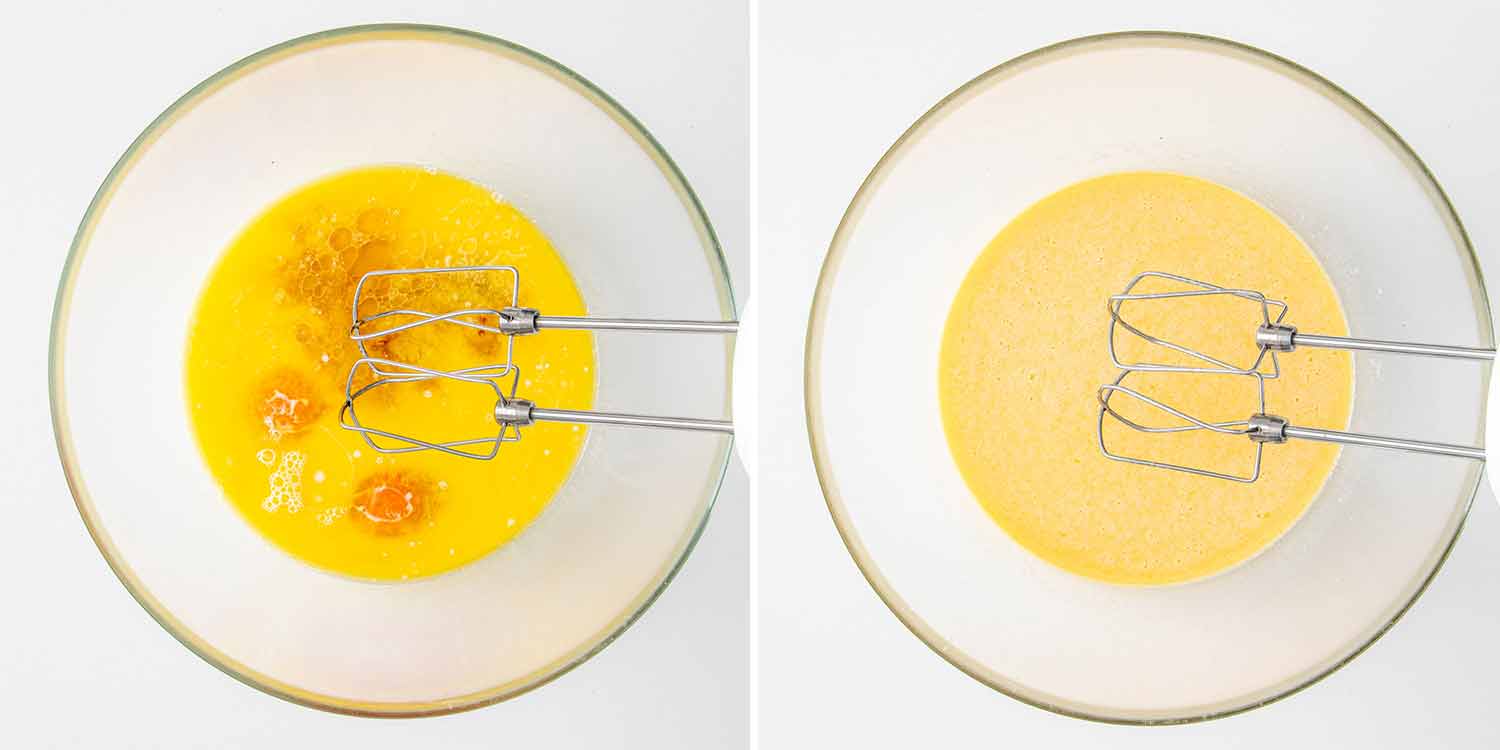
In another bowl, let’s whisk together the eggs, milk, melted butter, and vanilla extract. This not only mixes these ingredients together but also begins to incorporate air into our batter, which is key for achieving light and airy waffles.
Combine Wet And Dry Mixtures
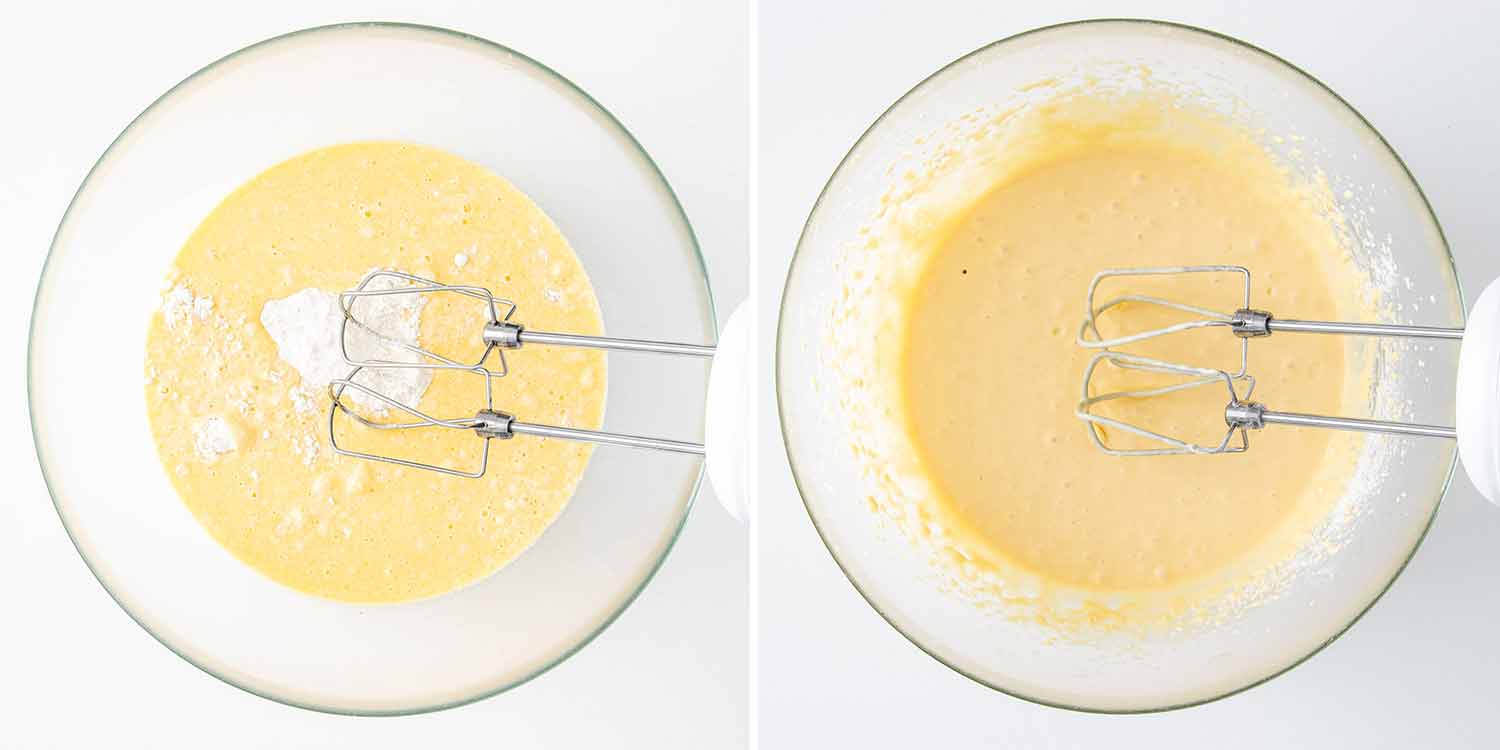
Now, it’s time to bring our wet and dry ingredients together. Pour your egg mixture into the flour mixture and stir until just combined. Remember, a few lumps are fine. Overmixing could lead to tough waffles, and nobody wants that!
Cook The Waffles
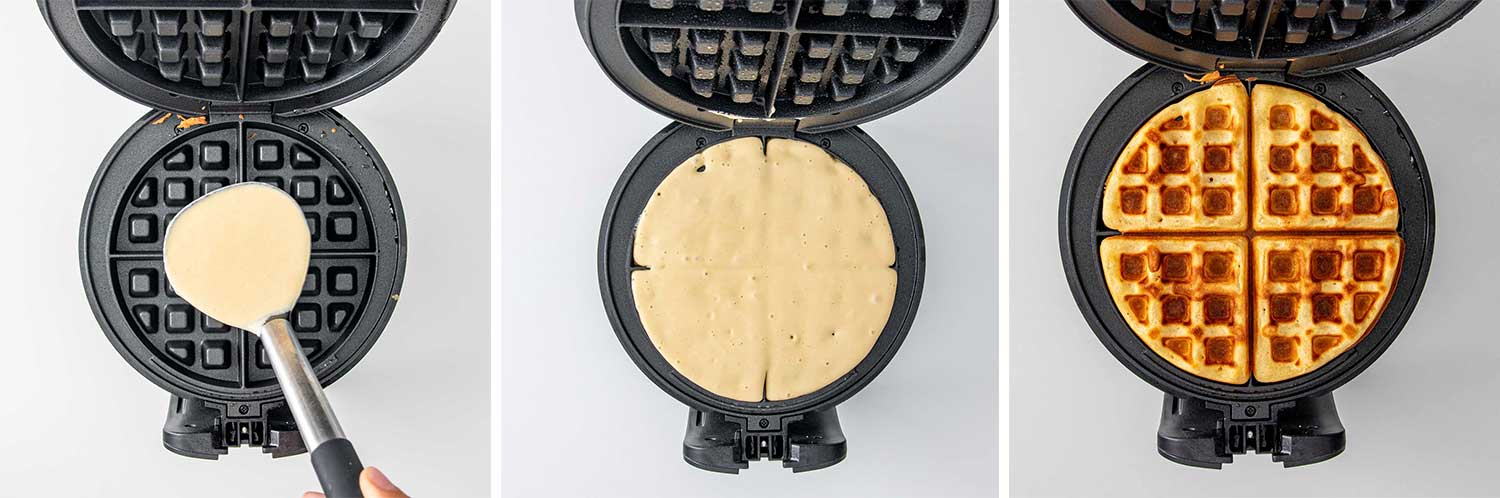
With our batter ready, we’re onto the most exciting part: cooking the waffles! Ladle your batter into the preheated waffle iron, taking care not to overfill it. Close the lid and cook as per the manufacturer’s instructions, or until your waffle is golden brown and crisp.
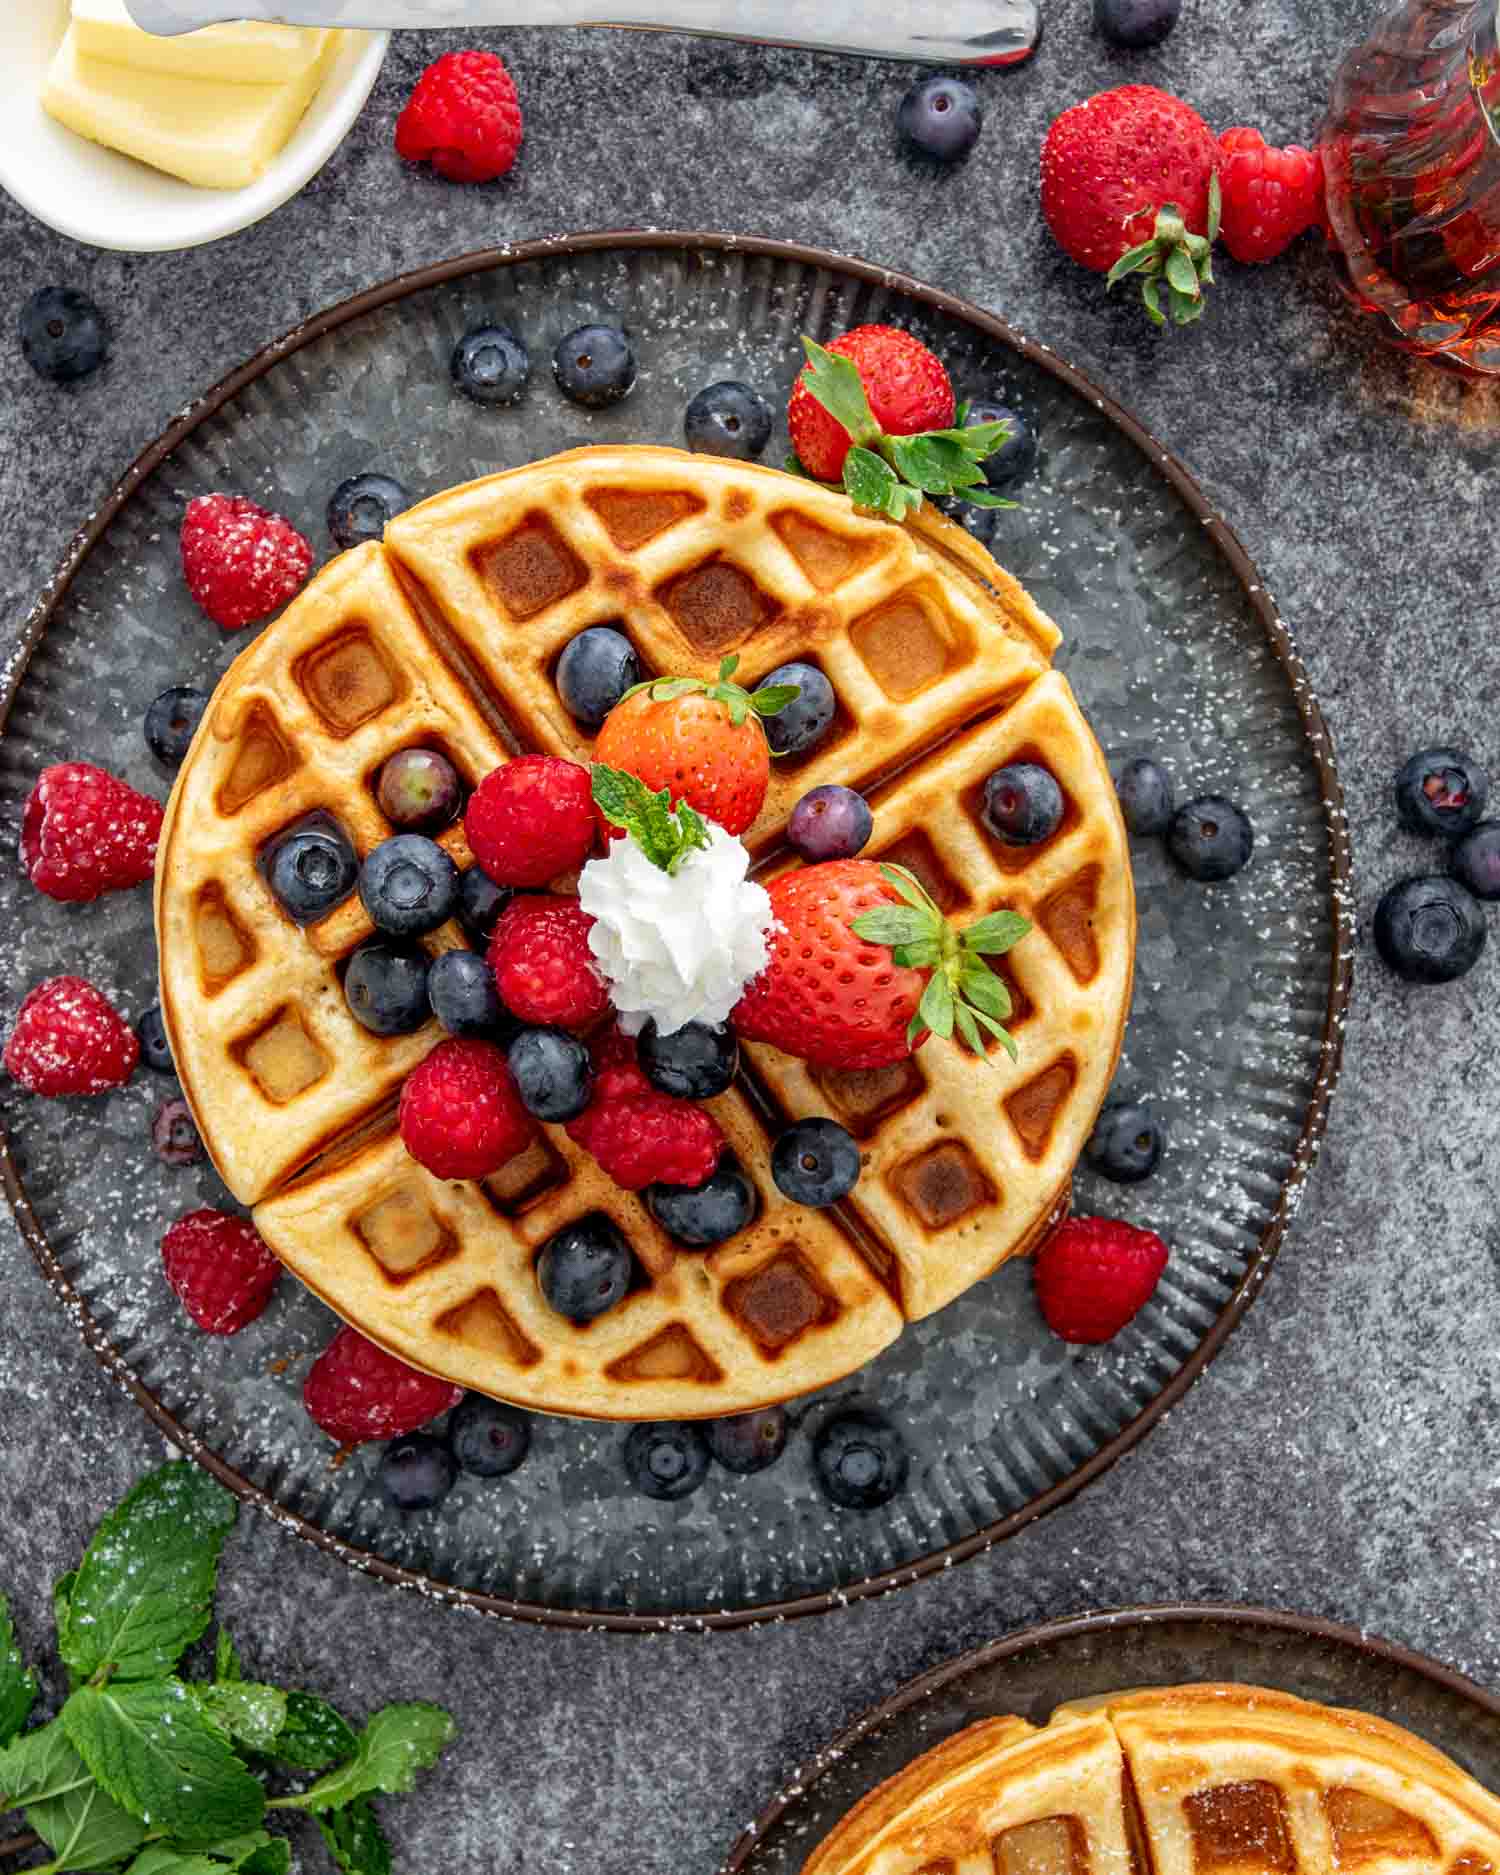
Final Touches
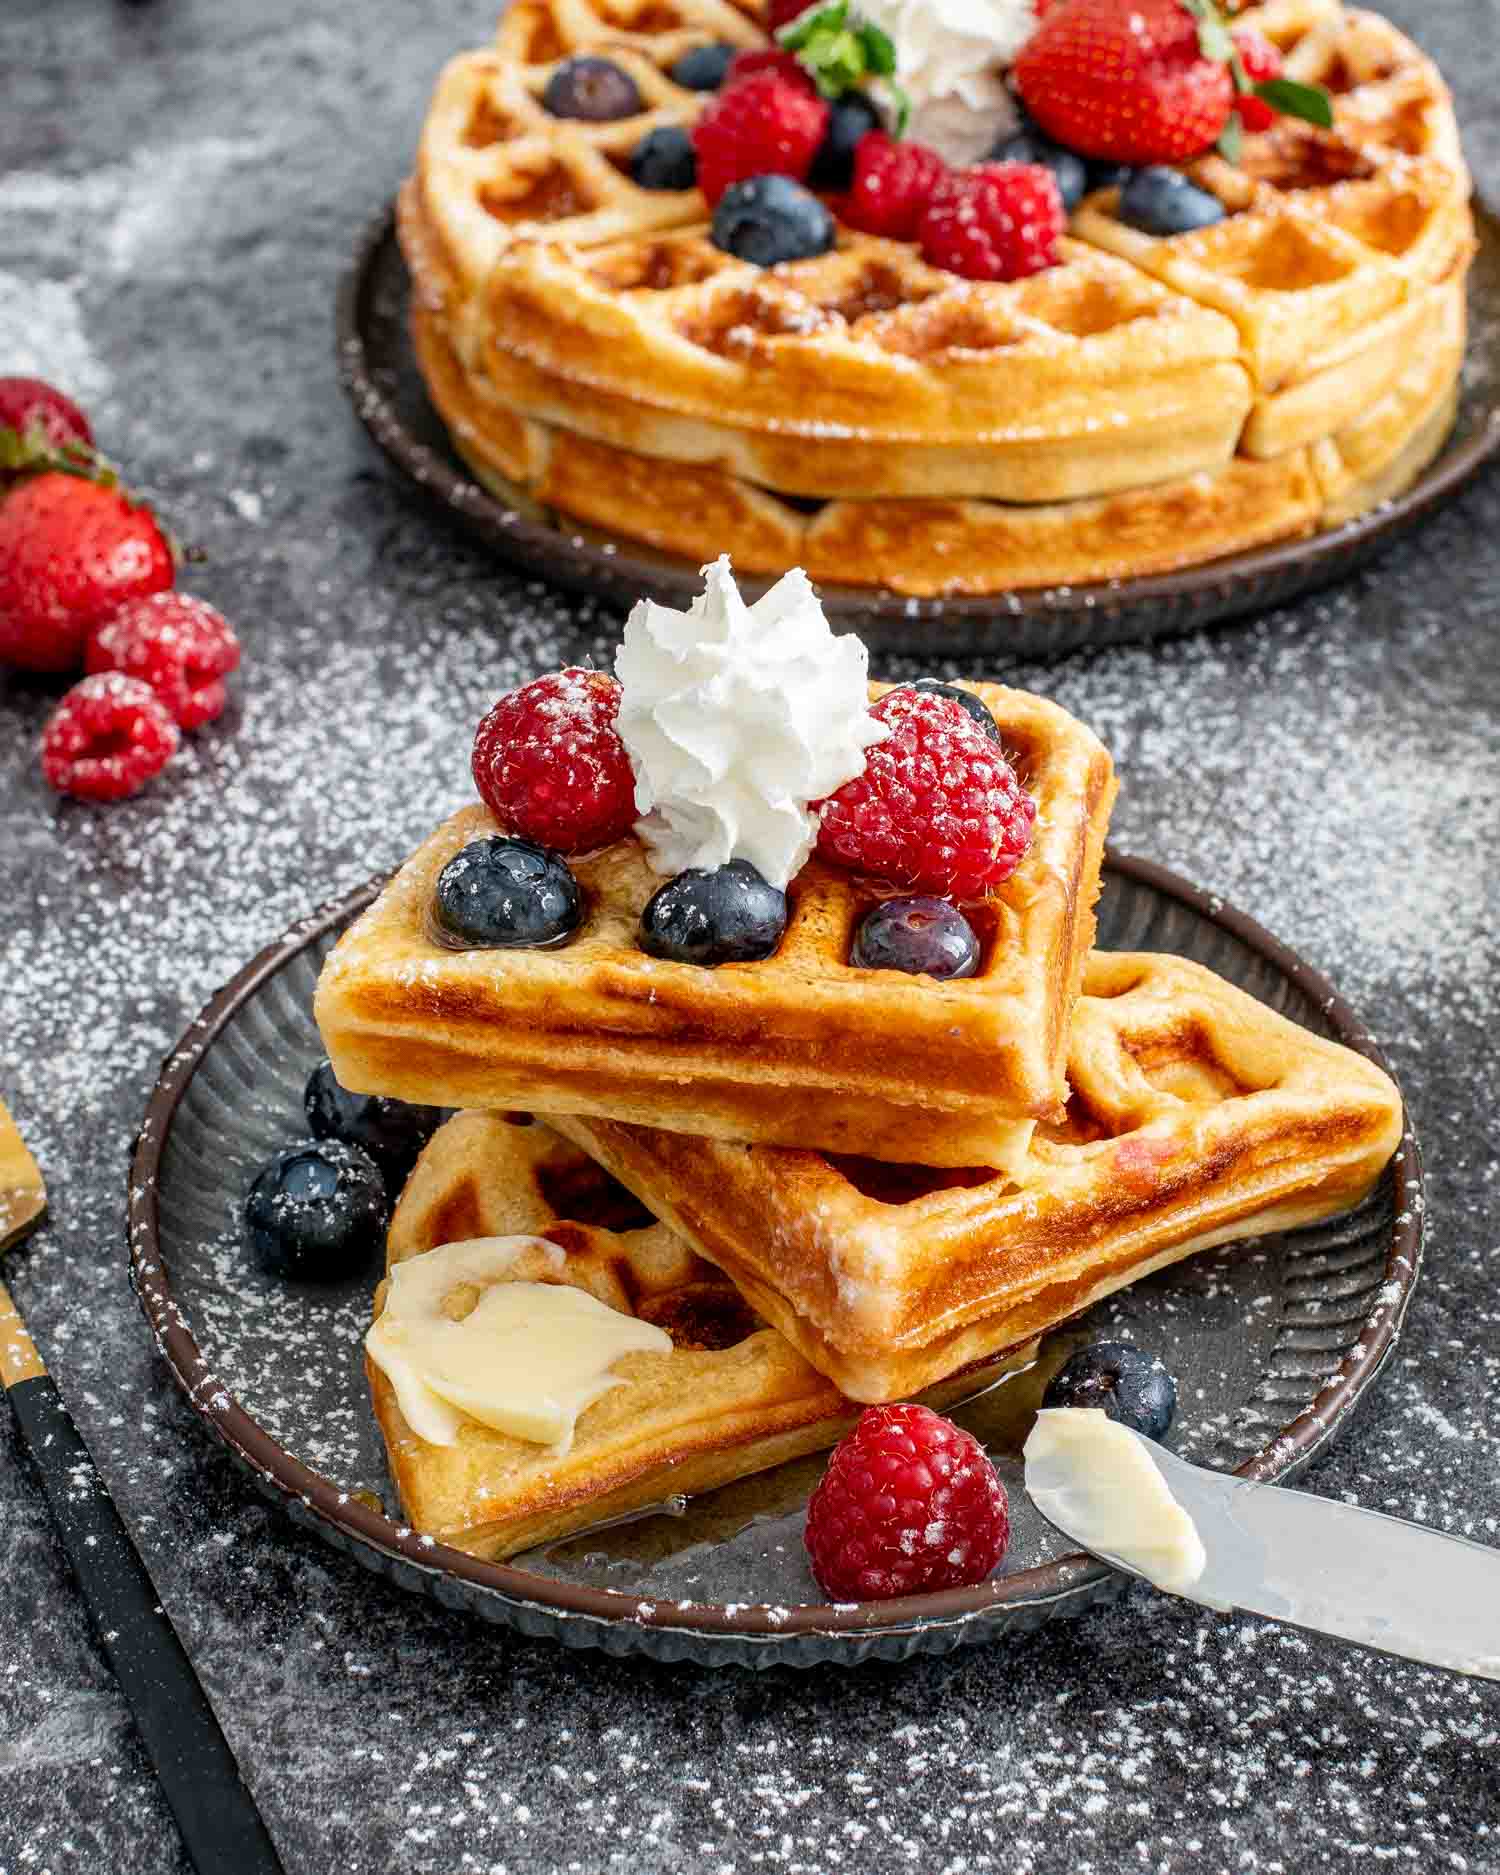
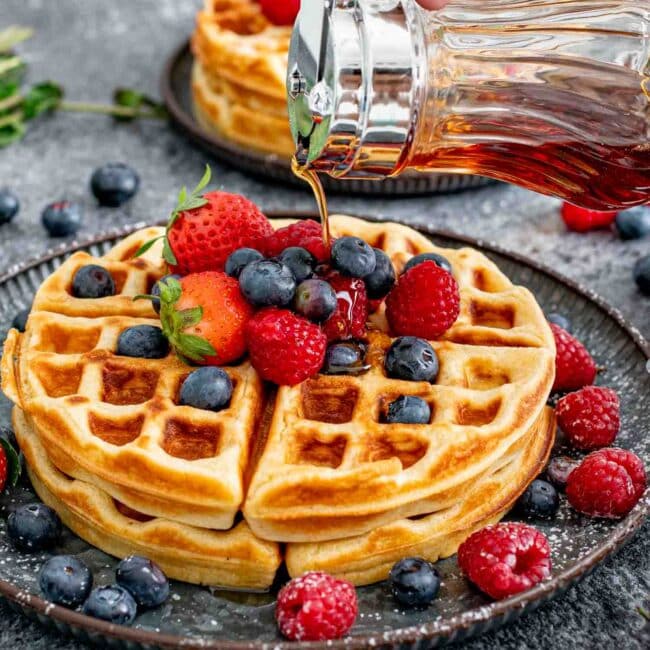
Once the waffle is perfectly cooked, transfer it to a plate, and there you have it – a beautiful, homemade waffle ready to be devoured. Top it with butter, drizzle with maple syrup, or add your favorite fruits and enjoy!

Frequently Asked Questions
My waffles aren’t turning out crispy. What could be the issue?
There could be a few reasons for this. It could be that your waffle iron isn’t hot enough, so make sure it’s properly preheated before adding the batter. Another reason could be the batter itself – if it’s too thin, the waffles may come out soggy instead of crispy. Lastly, don’t open the waffle iron too early – give it time to properly cook and crisp up the waffles.
Can I make the waffle batter in advance?
Absolutely! You can prepare the waffle batter and keep it covered in the fridge overnight. However, you might need to give it a quick stir before using as the ingredients may separate slightly.
I don’t have a waffle iron. Can I use a grill pan instead?
While you can certainly cook the batter in a grill pan, the end result will be more like pancakes rather than waffles. They’ll still taste great, but you won’t have the same crispy edges and deep pockets that a waffle iron provides.
Can I freeze the leftover waffles?
Yes, you can freeze leftover waffles. Just let them cool completely, then store them in freezer-safe bags. They can be reheated in a toaster or oven for a quick and easy breakfast.
Can I add extras into the batter, like chocolate chips or blueberries?
Yes, feel free to customize your waffles with add-ins! Just make sure to fold them into the batter gently to prevent them from sinking to the bottom.

Expert Tips
- Mind the Lumps: When mixing the wet and dry ingredients, remember that lumps are perfectly okay. Overmixing the batter can develop the gluten in the flour, leading to tougher waffles. A few lumps will cook out and your waffles will turn out perfectly light and fluffy!
- No Waffle Iron? No Problem: If you don’t own a waffle iron, don’t fret. You can cook the batter in a non-stick pan, just like pancakes. They won’t have the classic waffle shape, but they’ll still taste amazing.
- Add-ins Galore: Don’t be afraid to add some fun into your waffles. Mix-ins like chocolate chips, blueberries, or even a dash of cinnamon can elevate your waffles from good to fantastic. Just remember to fold them into the batter gently.
- Make it Whole: If you prefer a healthier alternative, replace all-purpose flour with whole wheat flour. You might notice a slightly nuttier flavor and a denser texture, but they’ll be delicious nonetheless.
- Waffles On-The-Go: If you find yourself with leftover waffles, just let them cool, pop them in a freezer-safe bag and freeze. They make for a perfect quick breakfast on busy mornings – just reheat in the toaster and enjoy!
Storage
To store your waffles, you’ll first want to let them cool completely to room temperature. Once cooled, you can store them in two ways:
- Refrigerator: Place the waffles in a resealable plastic bag or an airtight container and store them in the refrigerator. They should last for about 2 to 3 days.
- Freezer: For longer storage, arrange the cooled waffles in a single layer on a baking sheet and freeze them for about an hour. This process, known as flash freezing, prevents the waffles from sticking together. Once they’re frozen, transfer the waffles to a freezer-safe bag or container. They can be stored in the freezer for up to 2 months.
To reheat, simply pop them in a toaster or oven until warmed through and crispy again. If frozen, you don’t need to thaw them first – just extend the reheating time. Enjoy them as a quick breakfast or snack, served with your favorite toppings.
Try These Breakfast and/or Brunch Recipes
Easy Waffle Recipe
Video
Ingredients
- 2 cups all-purpose flour
- 2 tablespoons granulated sugar
- 1 tablespoon baking powder
- ½ teaspoon salt
- 2 large eggs
- 1¾ cups milk
- ½ cup unsalted butter melted
- 1 teaspoon vanilla extract
For Serving
- butter
- maple syrup
- fresh fruits
- whipped cream
Instructions
- Preheat your waffle iron according to the manufacturer's instructions.
- Mix the dry ingredients: In a large bowl, whisk together the flour, sugar, baking powder, and salt until combined.
- Mix the wet ingredients: In another bowl, whisk together the eggs, milk, vegetable oil or melted butter, and vanilla extract until well blended.
- Combine the wet and dry ingredients: Pour the wet ingredients into the bowl with the dry ingredients and stir until just combined. Be careful not to overmix; it's okay if there are a few lumps.
- Cook the waffles: Pour or ladle the batter into your preheated waffle iron, being careful not to overfill it. Close the lid and cook according to the manufacturer's instructions or until the waffle is golden brown and crisp.
- Place the baked waffles on a plate and repeat with remaining batter.
- Serve: Remove the waffle from the iron and serve immediately with butter and maple syrup, or your favorite toppings.
Tips & Notes:
- Don’t overmix the batter: It’s okay if there are a few lumps in your waffle batter. Overmixing can result in tough, chewy waffles.
- Preheat your waffle iron: Make sure your waffle iron is hot before you add the batter. This helps create that crispy, golden exterior.
- Don’t peak too soon: Resist the urge to open the waffle iron too early. Let the waffles cook until they’re golden and crisp.
- Adjusting for preferences: If you prefer lighter, fluffier waffles, you can separate the egg yolks and whites, beat the whites to soft peaks, and fold them into the batter at the end.
- Storage: Leftover waffles can be cooled, then stored in the refrigerator for up to 3 days or in the freezer for up to 3 months. Reheat in a toaster or oven for best results.